Before installing a Bali hut, you’ll need to think about placement, council approval, materials, and ongoing maintenance. When you sort these out early, your structure is far more likely to hold up well over time.
We’ve helped Australian homeowners work through these exact questions, and honestly, a little planning upfront saves a lot of headaches later. That’s why we put together this guide. It covers everything from picking the right spot to choosing quality materials and keeping your Bali hut in top shape for years.
Let’s get started!
Planning Your Outdoor Space for a Bali Hut Installation
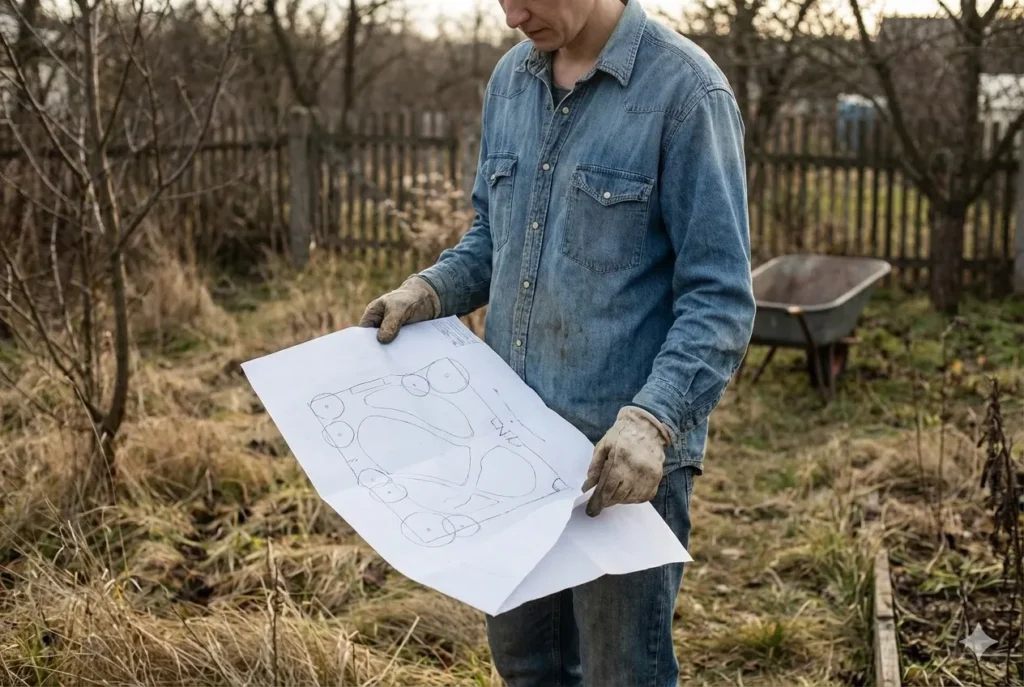
The first step is understanding your backyard’s layout and how a Bali hut will fit into it. Before you order anything or call a builder, take some time to assess your space and think through a few basics.
Step 1: Measure Your Space
Start by grabbing a tape measure and sketching a rough layout of your yard. Note any slopes, trees, or drainage points that could affect where you build. If your garden has uneven ground, you may need to level the area or work around existing features.
Step 2: Think About How You’ll Use It
Now, it’s time to determine a few things, like: Will this be a dining area for weekend barbecues? A lounging spot for quiet afternoons? Or maybe an outdoor kitchen where you can prepare food while entertaining guests?
Your intended use will shape the size and structure you need, so it’s worth thinking this through early.
Step 3: Consider the Flow
How will people move between the house, your hut, and other areas like a deck, patio, or pool? Frankly, this is where most people trip up.
One Sydney family we worked with positioned their Bali hut near the pool for easy access, and it completely changed how they used the whole garden. When the flow feels natural, you’ll find yourself out there more often.
Now, let’s look at picking the perfect spot.
Choosing the Right Location for Your Bali Hut
Where you place your Bali hut will shape how often you actually use it. A shaded corner that catches a breeze on hot days will have you out there every weekend, while a spot that bakes in the afternoon sun tends to sit empty.
So before you lock anything in, consider these factors when scouting your desired location.
- Sun Exposure: North-facing spots in Australia cop the most heat, so check how much direct sunlight the area gets throughout the day.
- Wind Direction: Harsh westerly winds can make your hut uncomfortable, but positioning it to catch a cool afternoon breeze solves that problem, especially in Sydney, where summer winds often roll in from the northeast.
- Privacy and Views: What you see from inside your hut and how visible you are to neighbours will affect how relaxing the space feels, so good shade and the right setup help create a garden retreat.
At its core, the right location means you’ll actually use the space for relaxation instead of letting it sit idle throughout the year.
Once that’s sorted, it’s worth checking if you need any permits.
Do You Need Council Approval for Outdoor Structures?
In most cases, smaller backyard structures won’t need a full permit, but it depends on your local council. Rules vary across NSW, and what flies in one area might not work in another.
Generally, outdoor structures under25m² and no taller than 3m qualify as exempt development, so no formal application is required. Setback requirements also differ. As some councils require structures to sit at least 900mm from the yard boundary, while others have stricter limits.
Ultimately, there’s no way around this. You absolutely need to check council approval requirements before building your Bali hut.
Pro Tip: Keep a folder with your hut’s dimensions and any approval documents (that’s a headache you don’t want when selling your home).
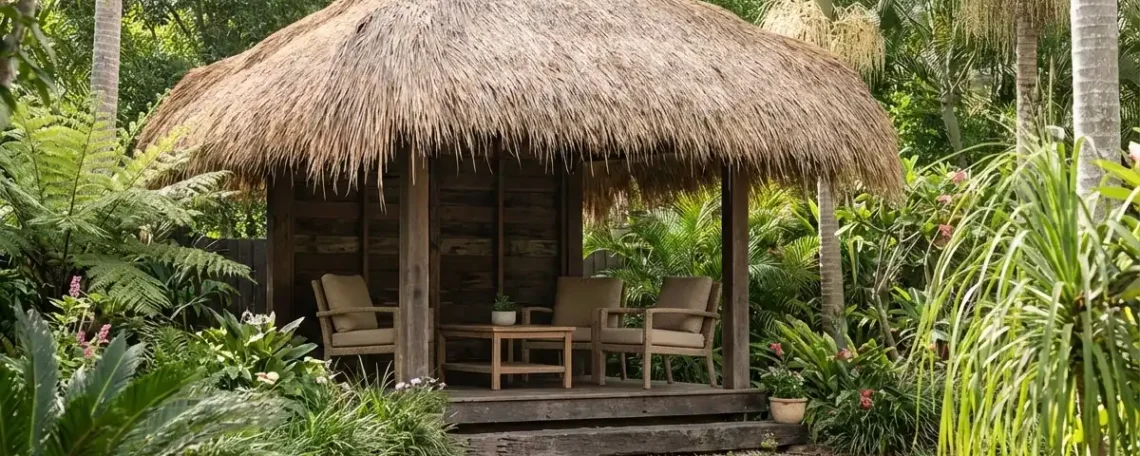
Selecting Materials and Design Ideas for Your Bali Hut

Picking the right materials upfront means less maintenance and a Bali hut that lasts for decades. Quality timber and thatch can handle Australian weather, and the finish you choose will set the tone for your whole backyard.
Let’s take a quick look at the most popular finishes.
| Finish | Look | Best For |
| Natural | Light, raw timber tone | Modern, coastal homes |
| Walnut Stained | Rich, warm brown | Traditional, earthy backyards |
| Cedar Stained | Reddish-brown hue | Rustic, bushland settings |
Treated pine frames and posts resist rot and pests, which is why traditional wood options hold up so well. The roof frame is just as important, and this is where thatch really shines. Believe it or not, a thatched roof can drop temperatures underneath by up to 10 degrees (and trust us, that makes all the difference on a 35-degree day).
Beyond excellent insulation, thatch adds natural beauty and visual appeal that helps your hut complement the surrounding garden.
When choosing materials, think about durability and how well they’ll match your house. The right combination creates a structure that improves your outdoor space and keeps things comfortable year-round.
Now that your hut is planned and built, here’s how to keep it looking great year after year.
Bali Hut Maintenance and Finishing Touches
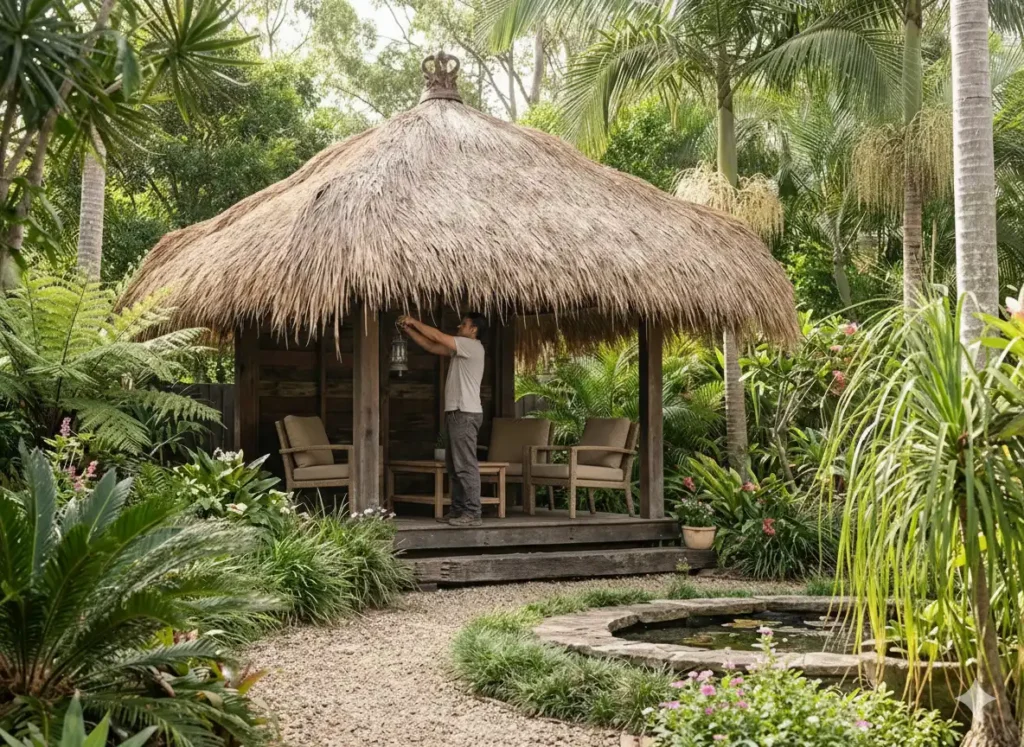
A little regular maintenance goes a long way, and the right finishing touches can turn a simple structure into a genuine backyard haven.
Below are the key areas to focus on.
- Thatch Roof Care: Inspect your thatch roof once a year and look for thinning spots or debris buildup, since catching small issues early prevents bigger repairs later.
- Re-thatching Timeline: Most of the huts we’ve installed in coastal areas need a fresh thatch a bit sooner than inland ones, so plan for re-thatching every five to seven years, depending on weather and salt exposure.
- Timber Protection: Treat your posts and frame with a quality sealant to guard against moisture, rain, and UV damage (we’ve seen huts last 20 years with basic upkeep).
- Outdoor Furniture and Lighting: Adding comfortable furniture, string lights, and potted plants helps create the right ambiance for relaxation, whether you’re hosting friends or curling up with a good book.
- Decorative Elements: A small pond or fountain can enhance your garden and bring a calming sound to the space, while extra greenery from thoughtful plant selection ties everything together.
Proper maintenance and a few personal touches secure your Bali hut as a functional, beautiful part of your outdoor life for decades to come.
Ready to Build Your Backyard Escape?
A well-planned Bali hut becomes the spot everyone gravitates to on weekends. With thoughtful planning and the right tools, you can create a secure structure that stands strong in your yard for years to come.
Your own backyard has the potential to become a complete haven for relaxation and outdoor life. And when the installation is done right, that hut will enhance every barbecue, quiet afternoon, and weekend gathering.
Georgia Wiseman offers Bali huts with a 20-year warranty on frames and easy DIY or professional installation. We’re here to help when you’re ready.