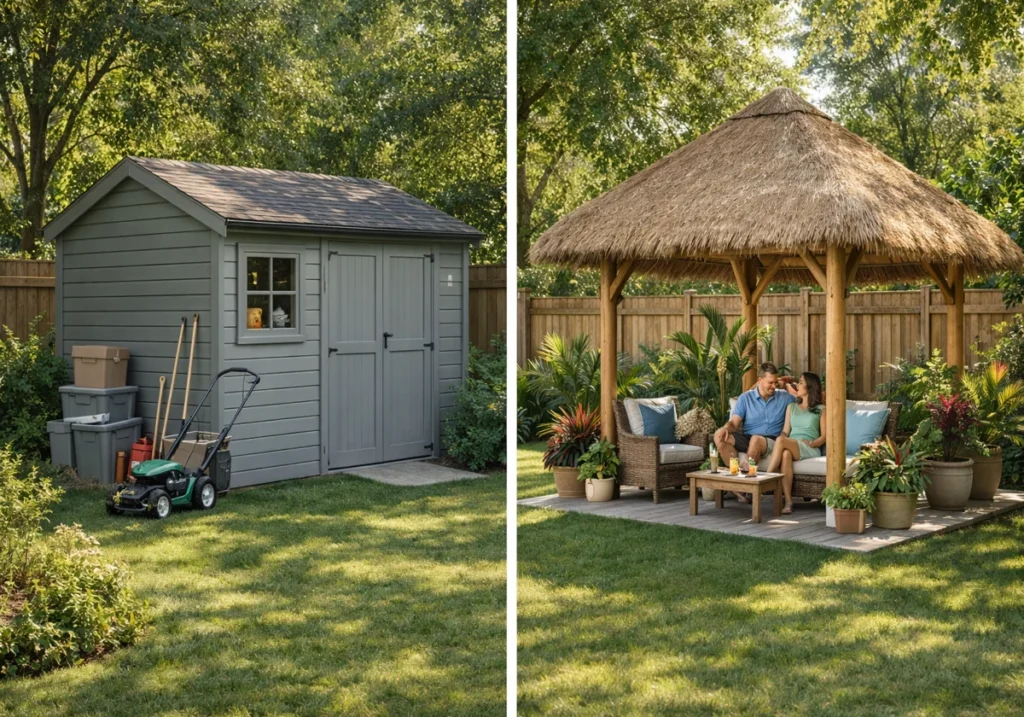
A well-designed backyard retreat gives you a proper place to decompress. Yet many Australians aren’t getting the most from their gardens and leave valuable outdoor space with untapped potential for relaxation.
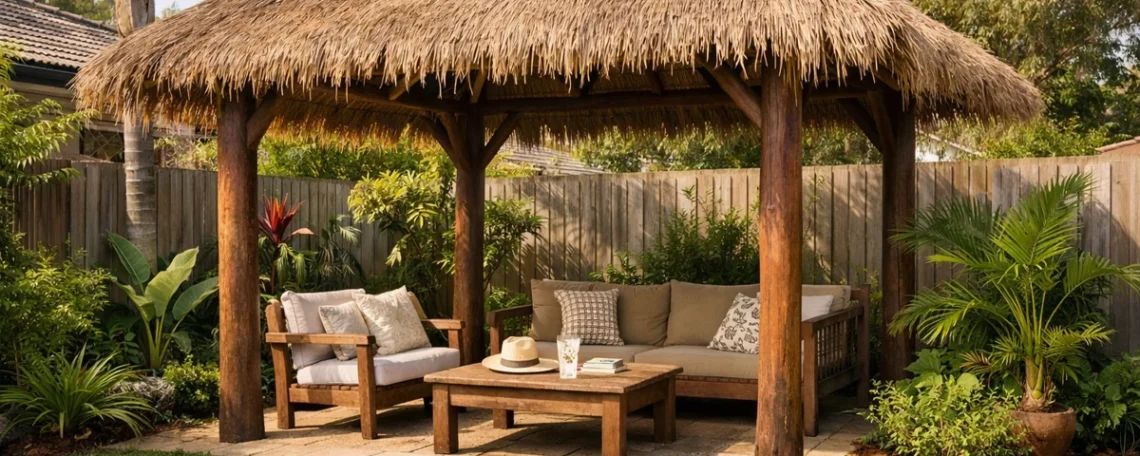
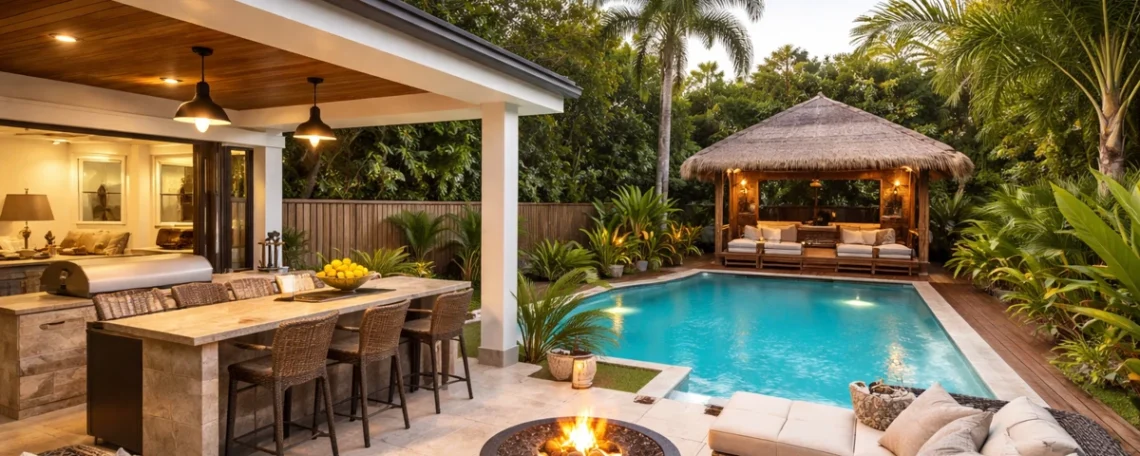
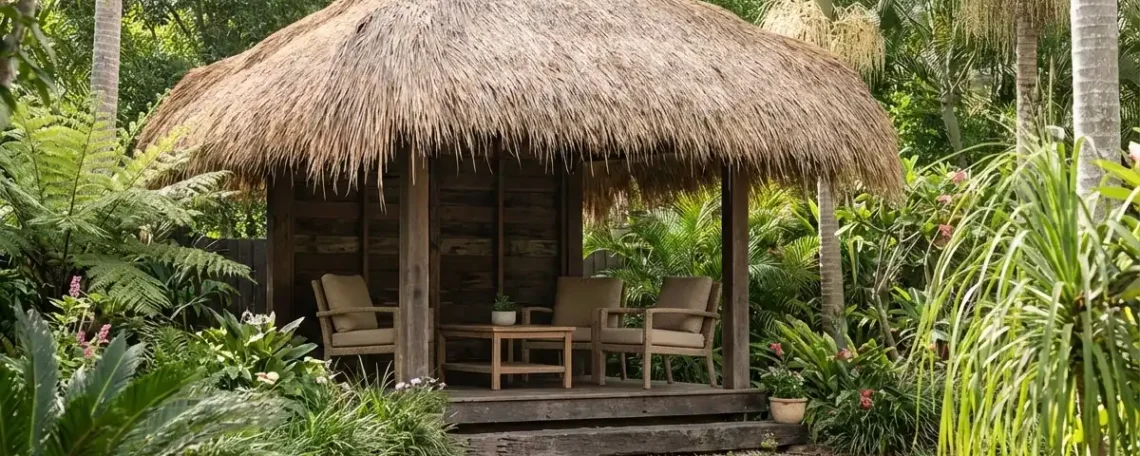
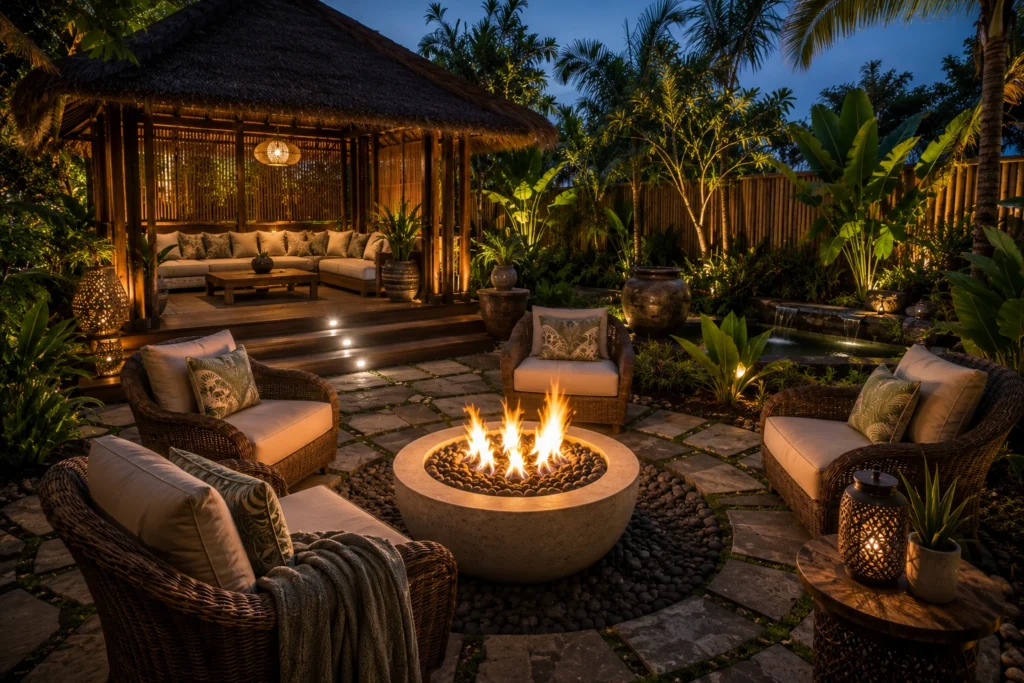
The good news is that your outdoor spaces don’t need a major overhaul to feel like a retreat. A Bali hut with comfortable seating creates a naturally shaded zone to relax in, and it works well even in a modest-sized space.
This article covers some practical backyard retreat ideas to help you get started. The aim is to design a garden that actually invites you outdoors.
Backyard Retreat Ideas: Where Do You Actually Start?
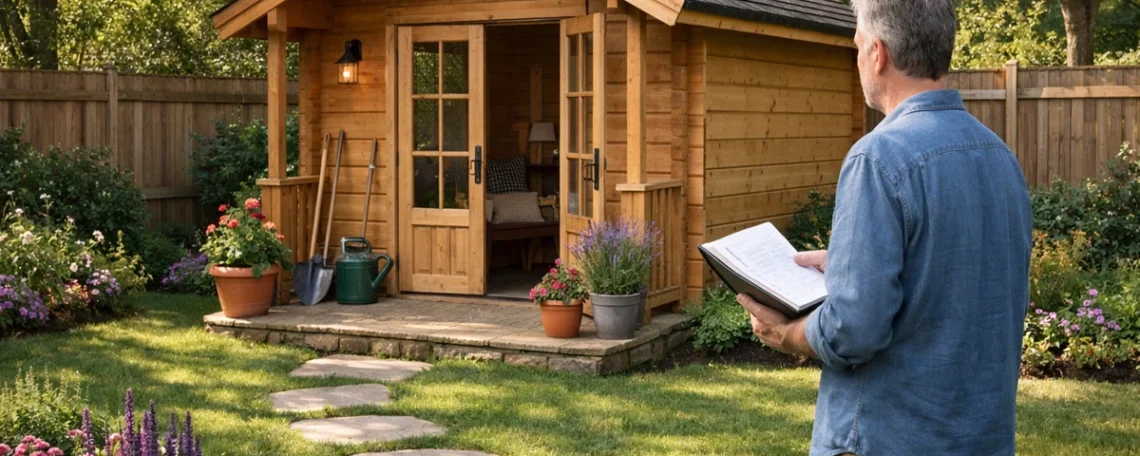
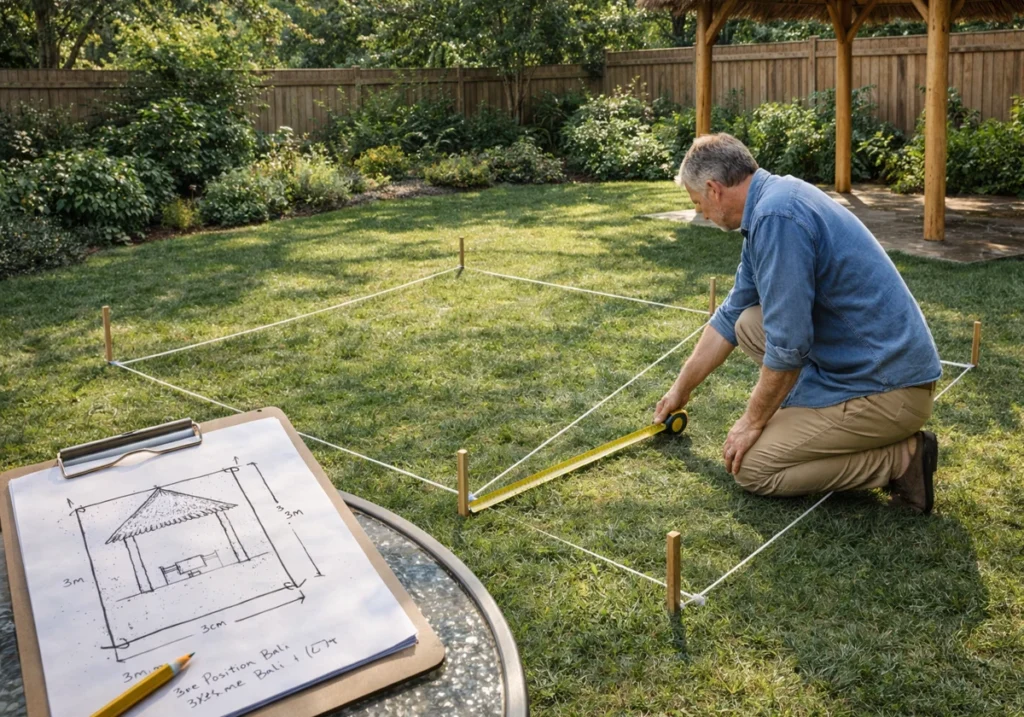
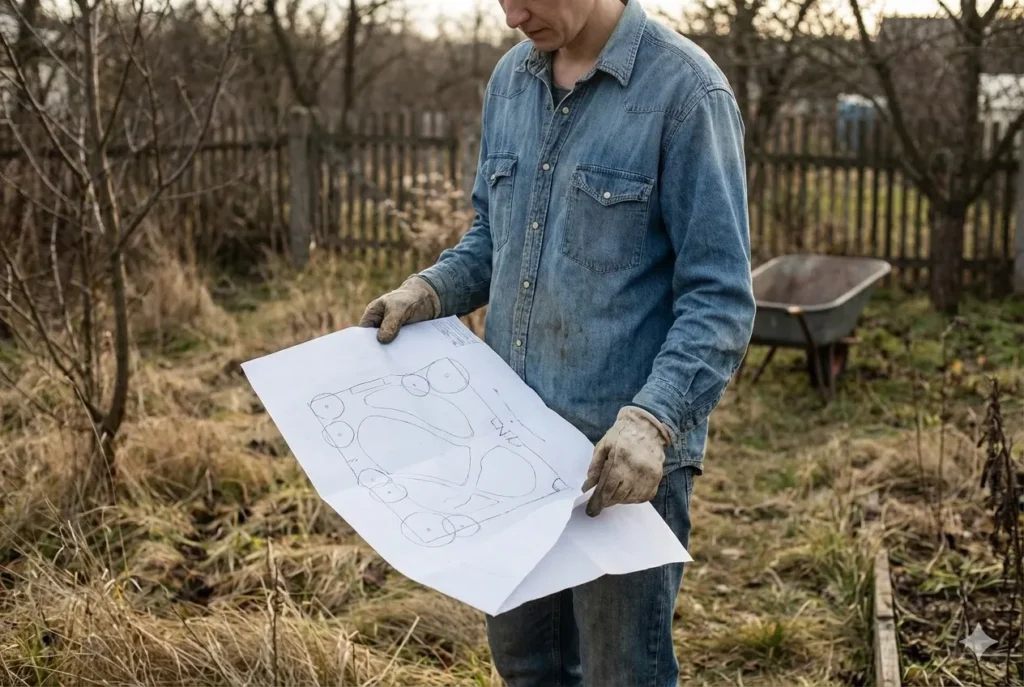
Most people kick off their backyard search with a rough idea and no clear sense of location. However, a bit of planning up front saves you from costly changes later. Here’s where to start.
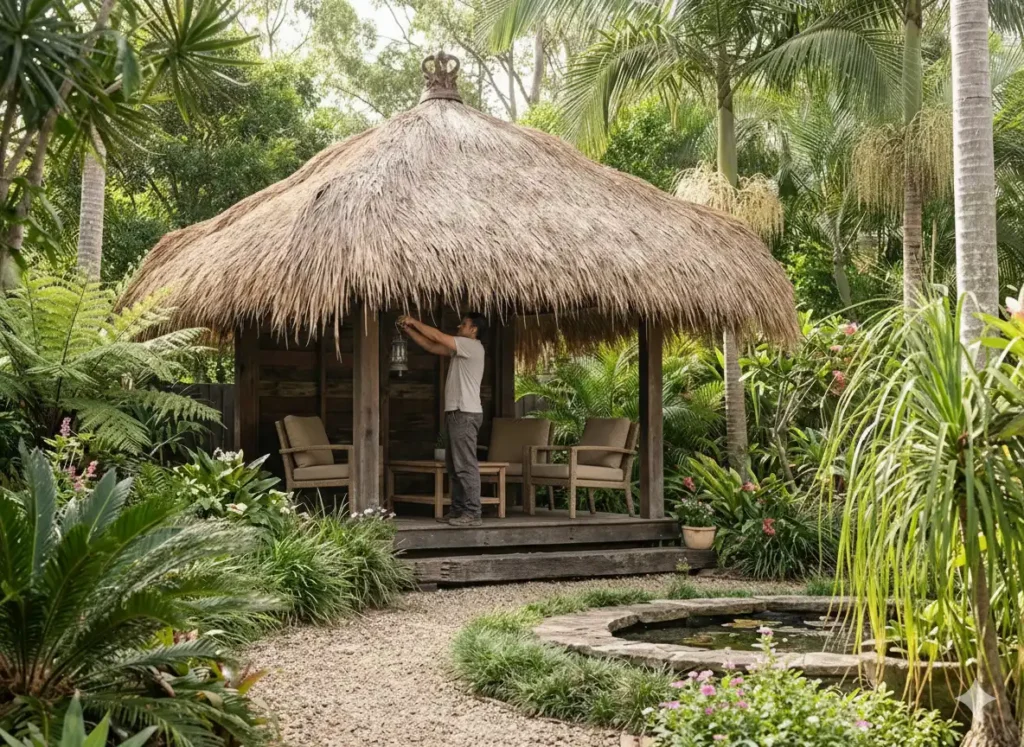
Why a Bali Hut Works as the Main Structure
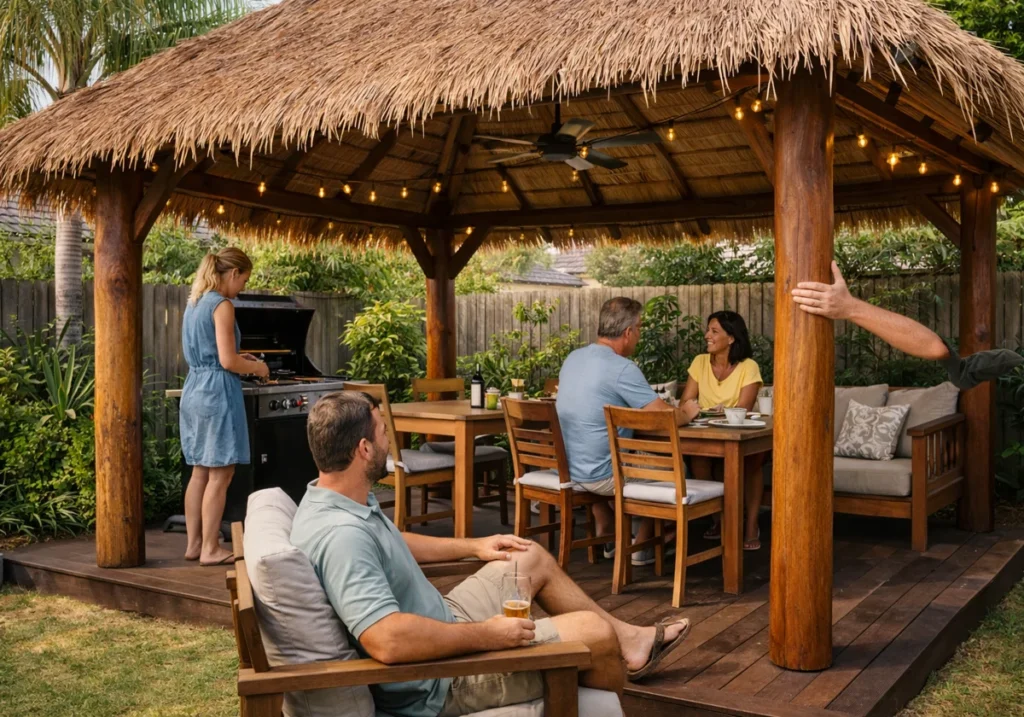
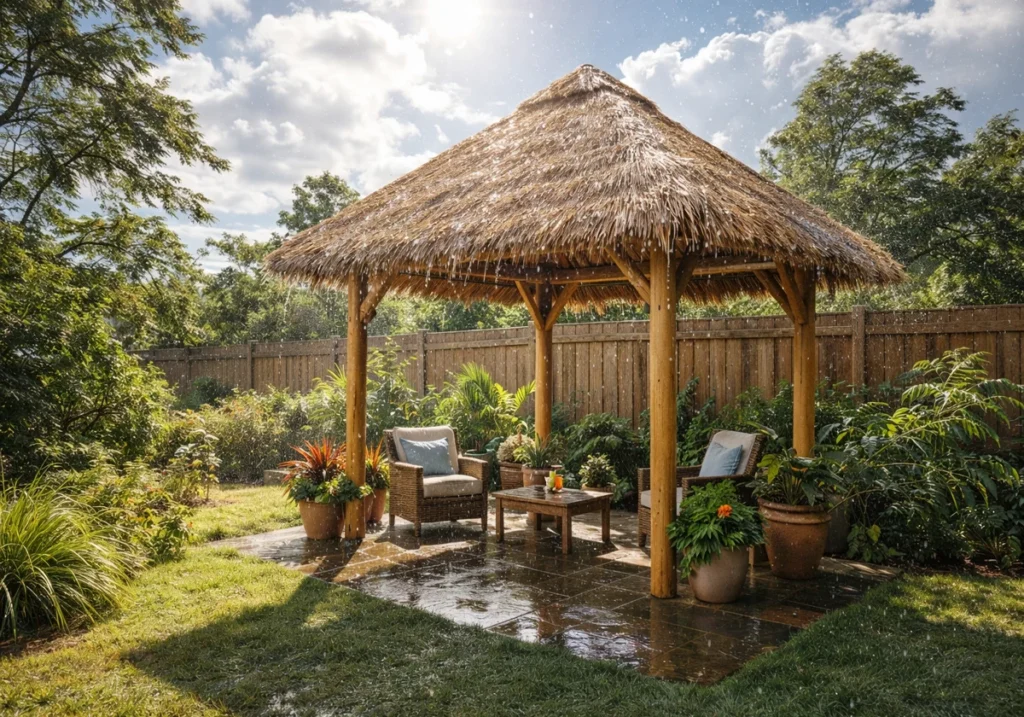
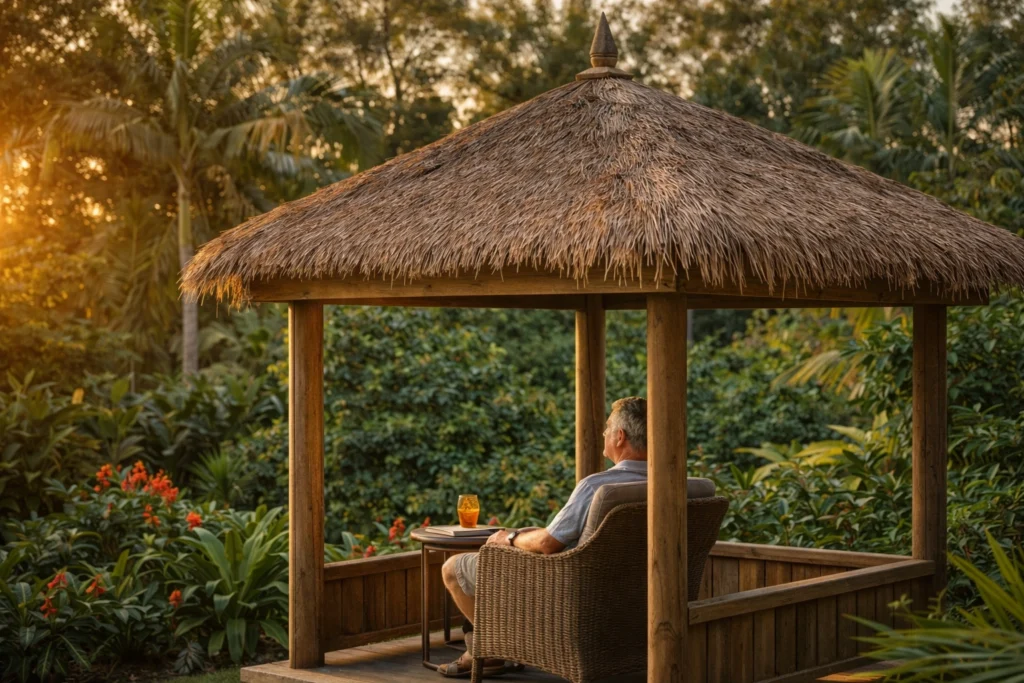
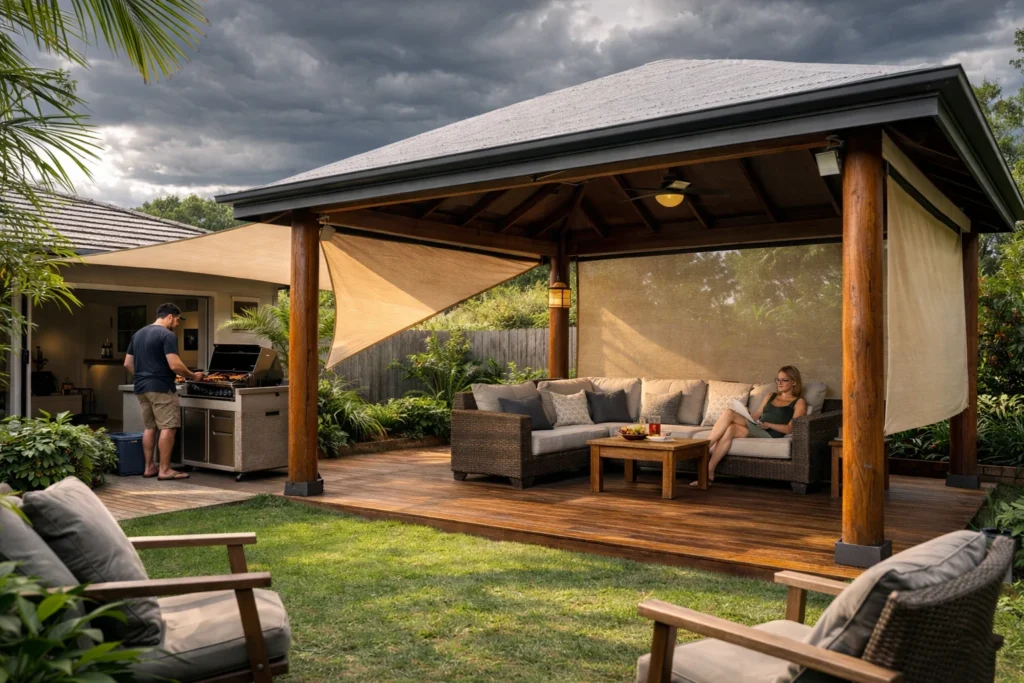
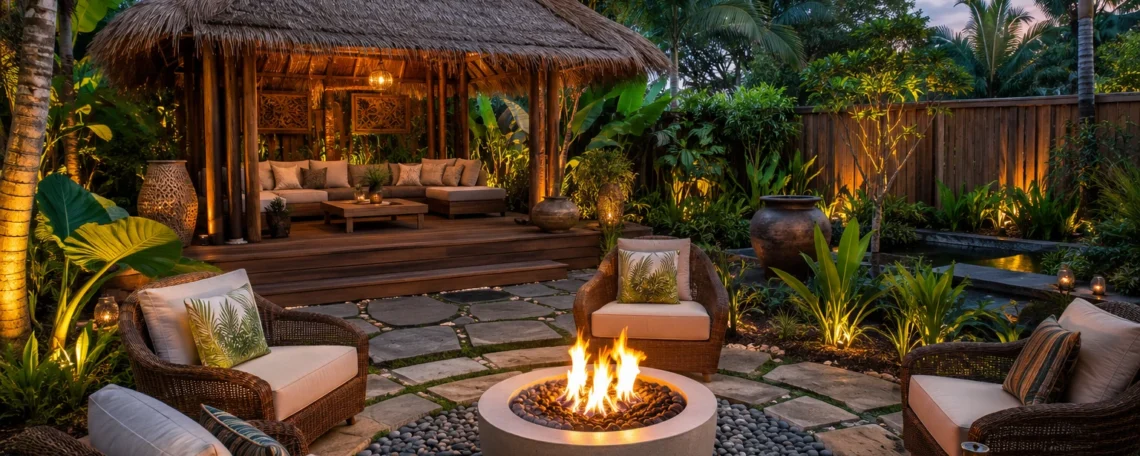
Ever wondered why so many Australian backyards now have a Bali hut at the centre of everything? It creates a comfortable, shaded retreat that makes outdoor living, entertaining, and relaxing more enjoyable throughout the year.
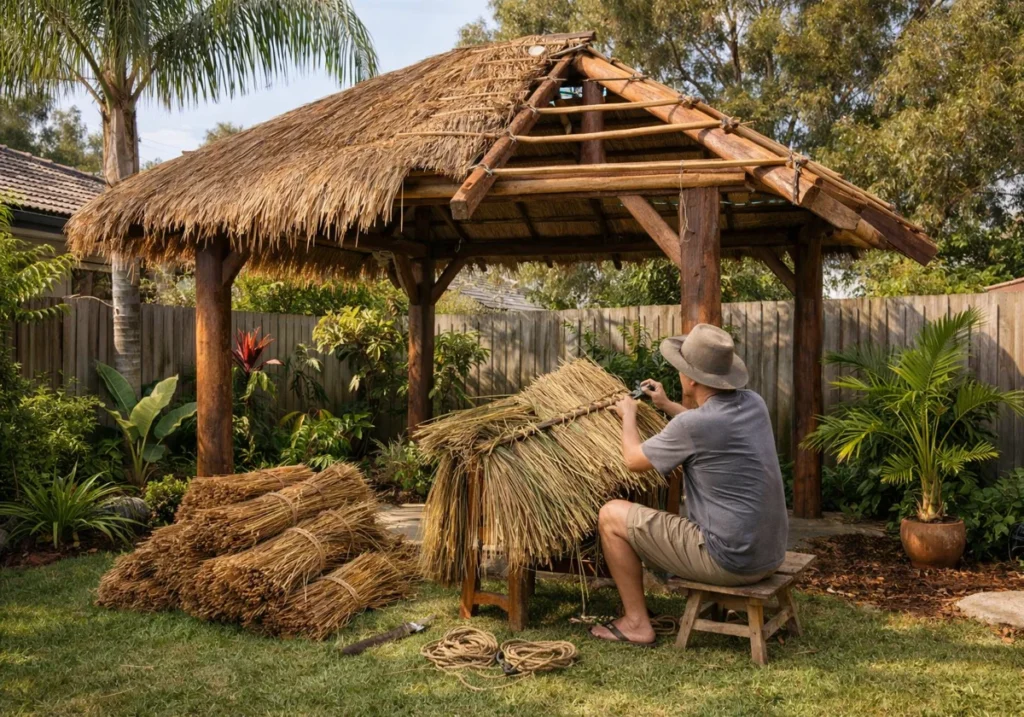
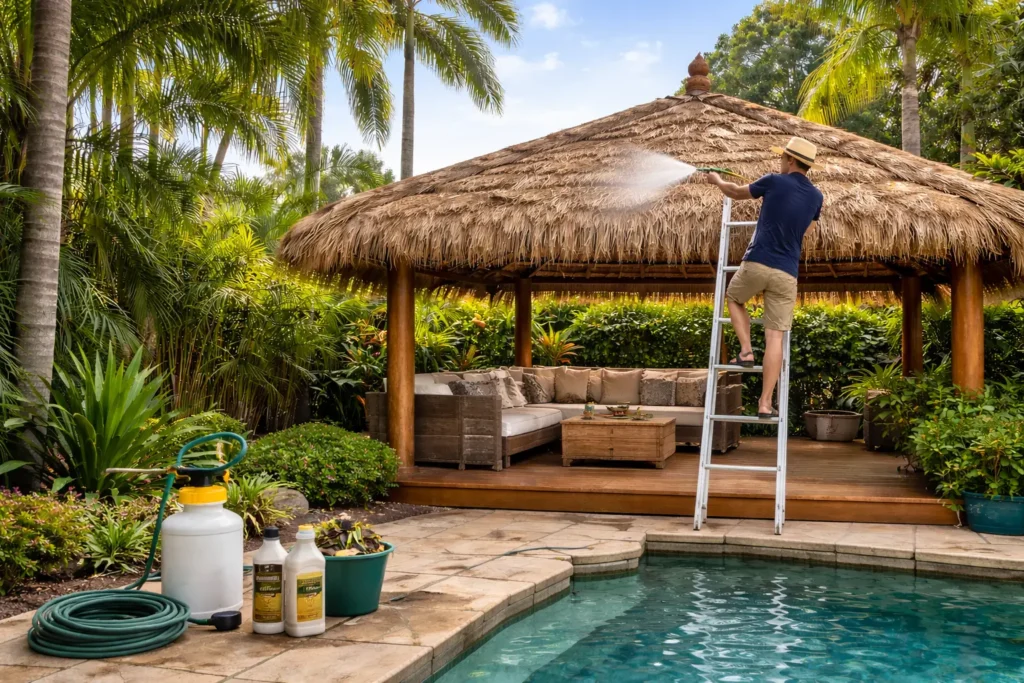
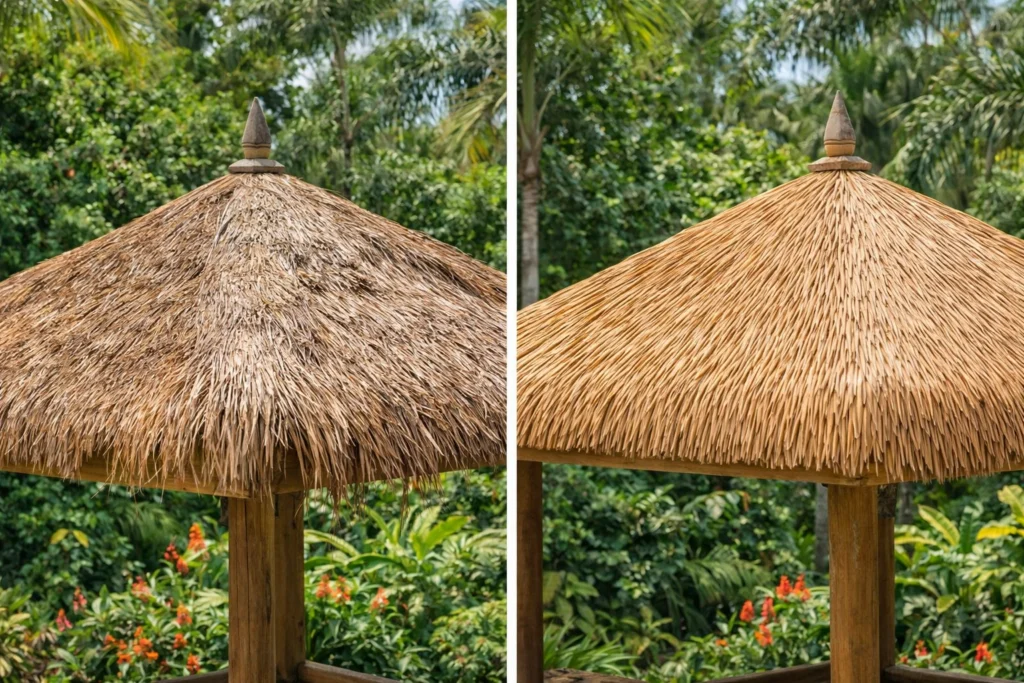
A Bali hut uses a thatched roof and timber frame to create natural shade without cutting off airflow. The space underneath stays cool and comfortable, even on a climbing summer day. In our experience, a well-placed Bali hut can drop outdoor temperatures by up to 10 degrees.
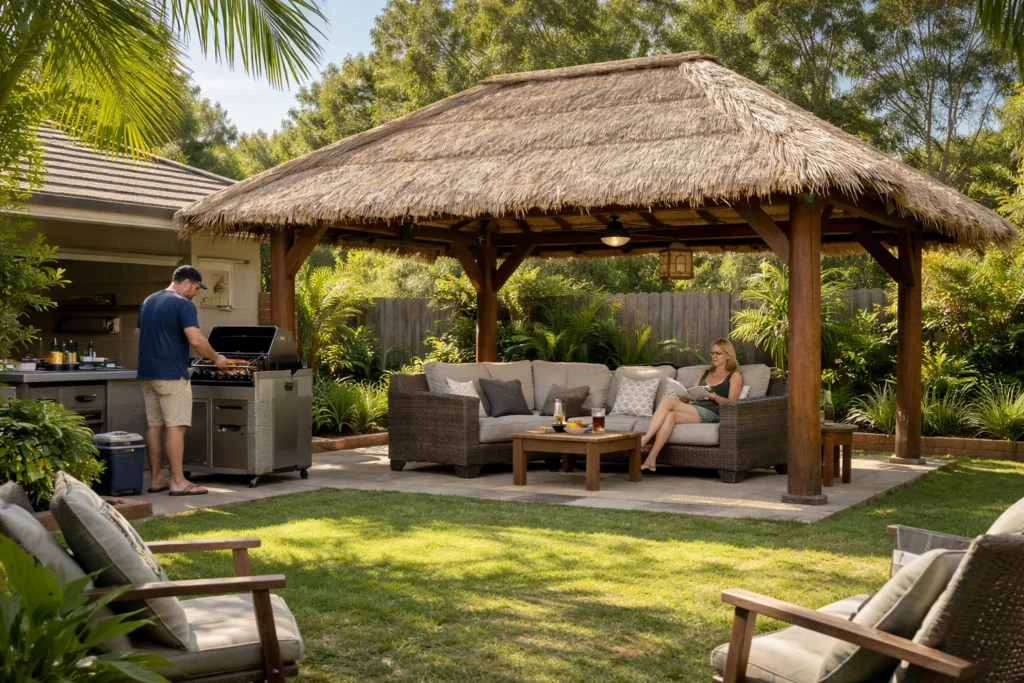
It also gives your garden a defined room to build around, which makes planning the rest of your layout, including seating, plants, and trees, a whole lot easier. Most houses benefit from this kind of anchor point before anything else gets added.
How to Pick the Right Spot in Your Backyard
Afternoon shade and a bit of distance from the house are the two things to focus on when choosing the location for your Bali hut.
A good location gets natural shade in the afternoon and avoids direct westerly sun. That afternoon glare can make your outdoor spaces really uncomfortable, so it pays to figure this out before you commit.
Also, think about how far the hut sits from the house. The goal is to strike a balance: Close enough for the family, but with enough space between to create a sense of separation. That distance helps define the garden’s most welcoming feel, and gives you a proper spot to relax.
Outdoor Spaces That Feel Like Southeast Asia
Bali, one of Indonesia’s most beautiful small islands, is a top destination for tourists from the UK, Europe, and other Western countries. In fact, it is one of the most popular destinations for Australian travellers in recent times.
Visitors head to areas like Ubud, Kuta, Seminyak, and Sanur, where they enjoy a mix of culture, beaches, temples, and a relaxed outdoor lifestyle. That Balinese connection with nature and open-air living has guided outdoor design right across the world.
Here’s how to bring some of that into your own garden.
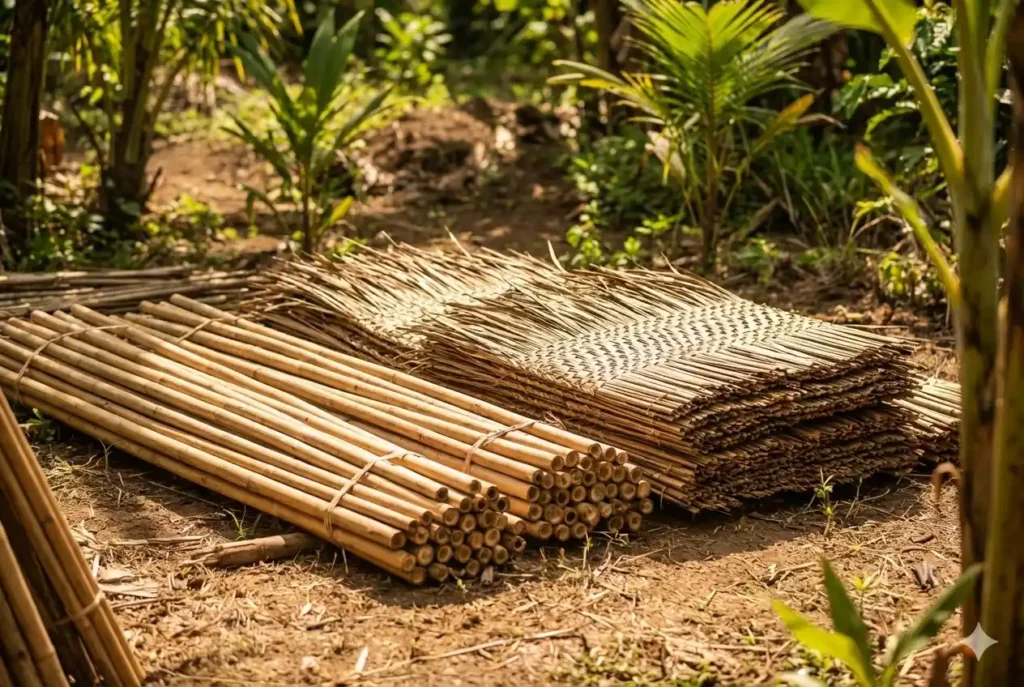
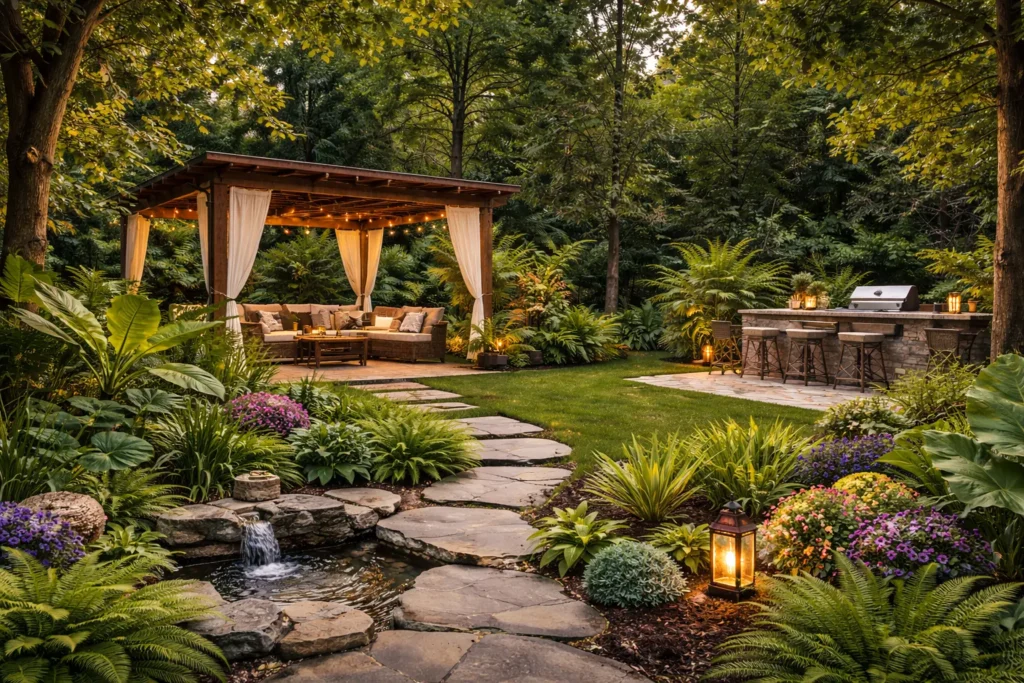
Natural Materials and Textures Worth Trying
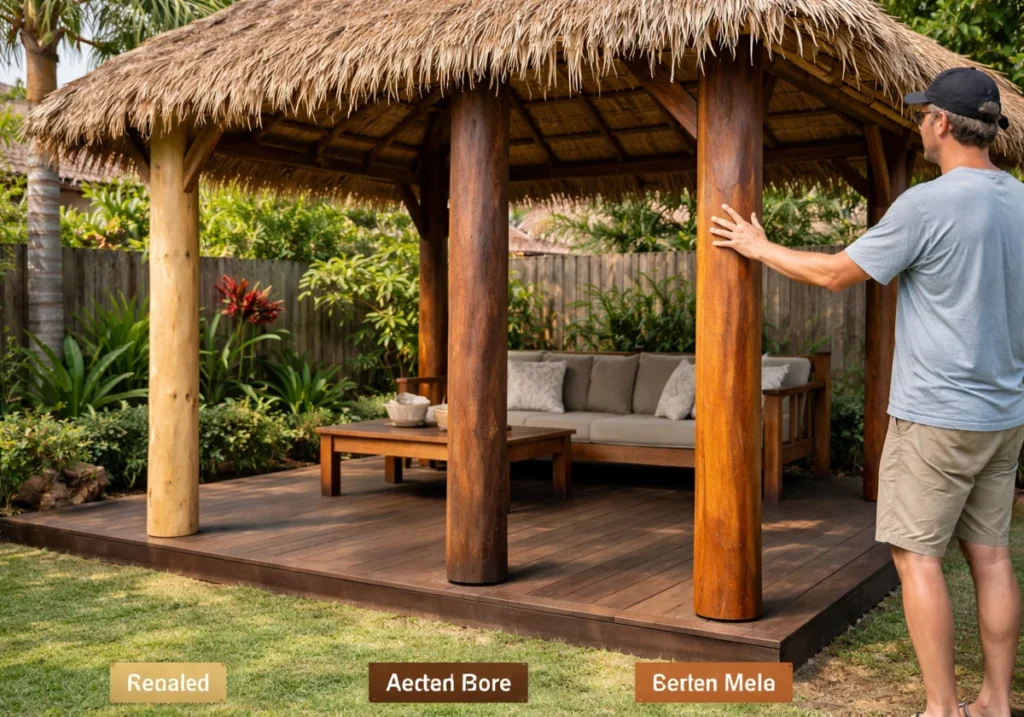
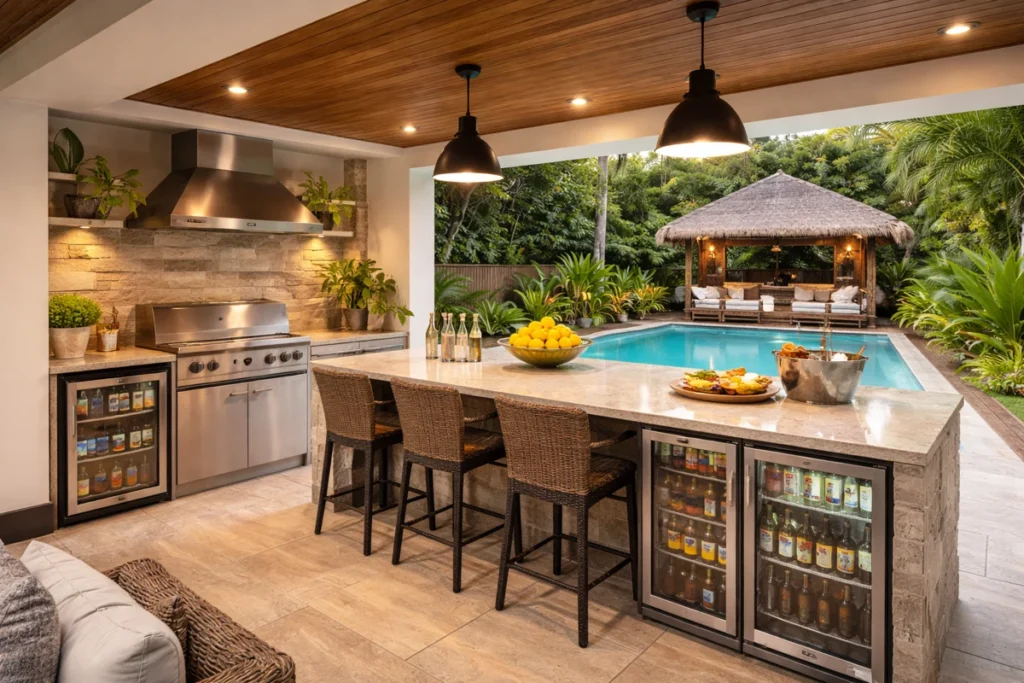
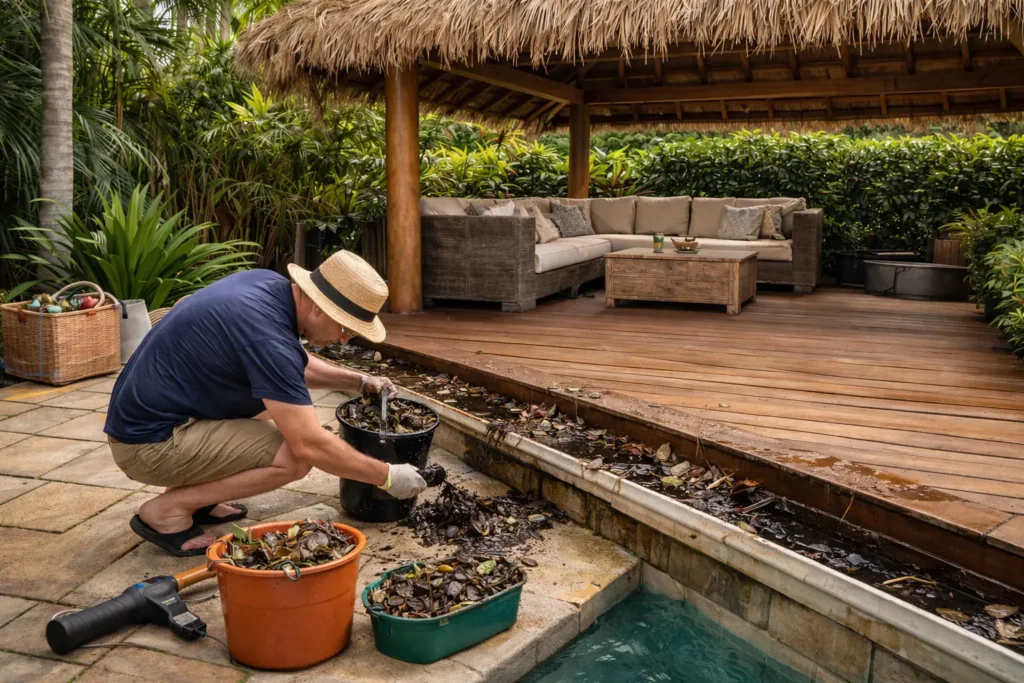
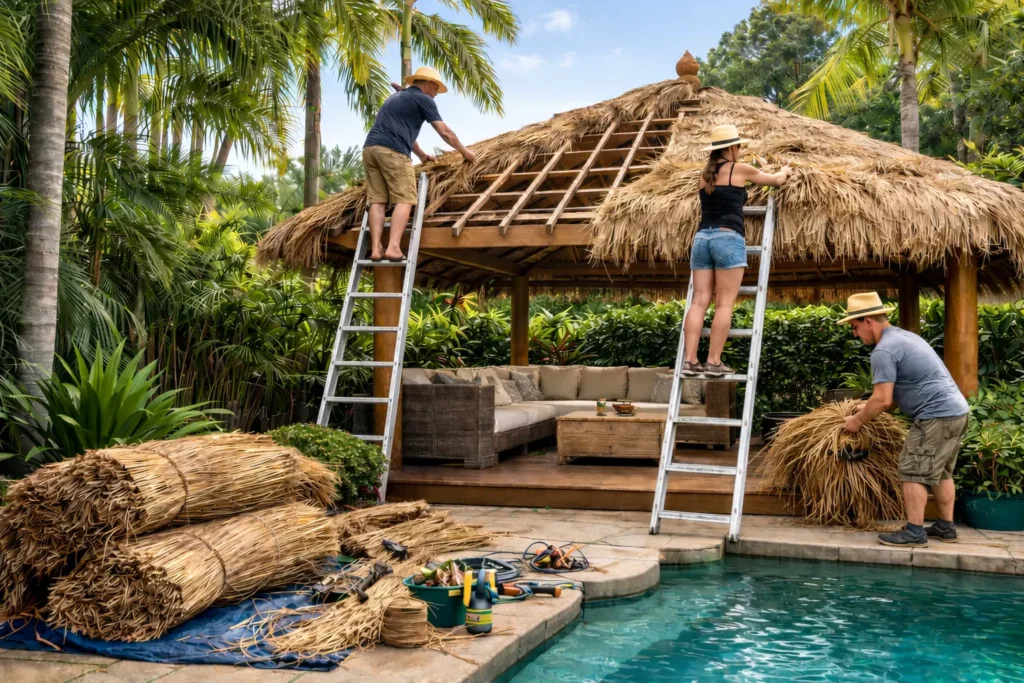
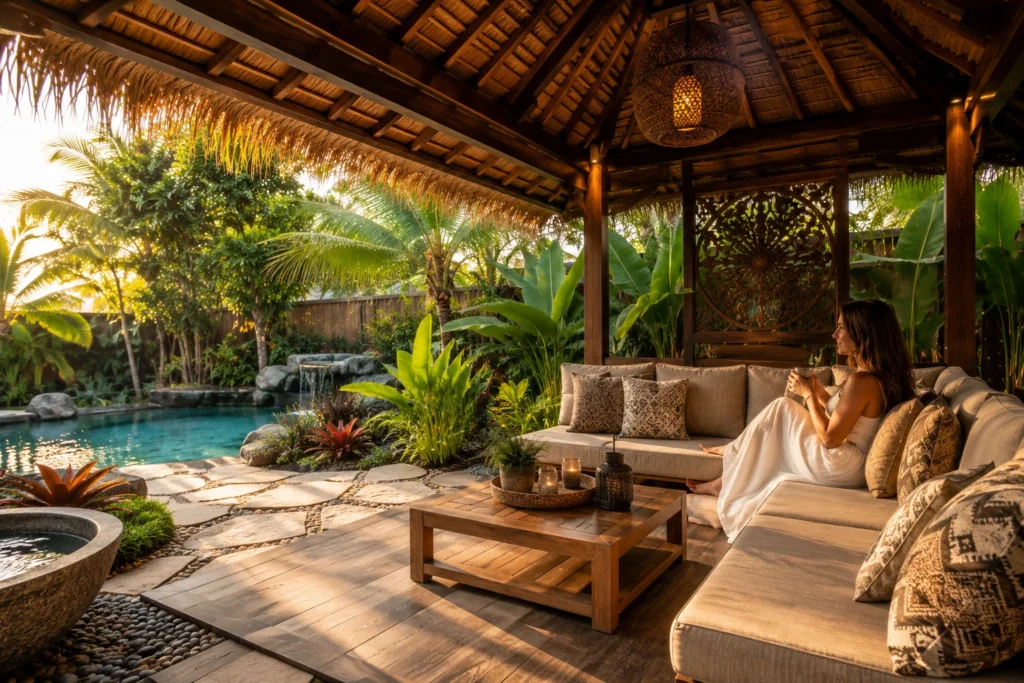
The right materials can make a backyard feel like a proper tropical escape. For example, timber decking and bamboo screens sit naturally alongside a Bali hut and add that layered, organic look that defines Balinese design.

To enhance the resort-inspired feel, focus on materials that age gracefully outdoors. Woven textures, earthy finishes, and handcrafted details help soften the space. Together, these elements create a relaxed atmosphere that feels both inviting and connected to nature.
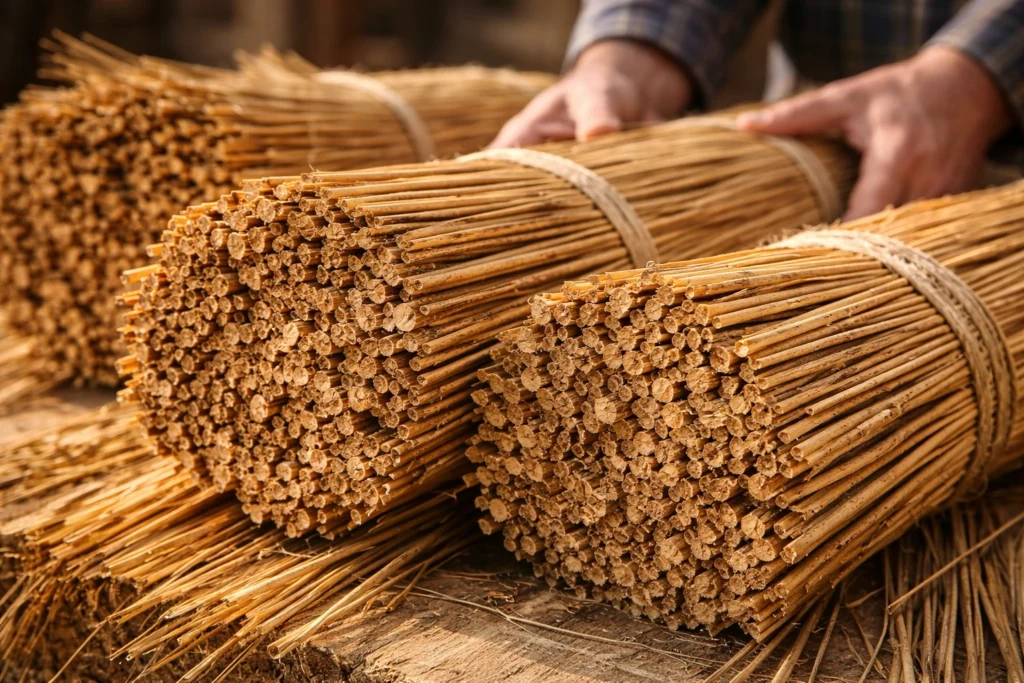
Stone pavers around the base add texture. And natural plants and fibres like jute bring warmth and greenery to the scene.
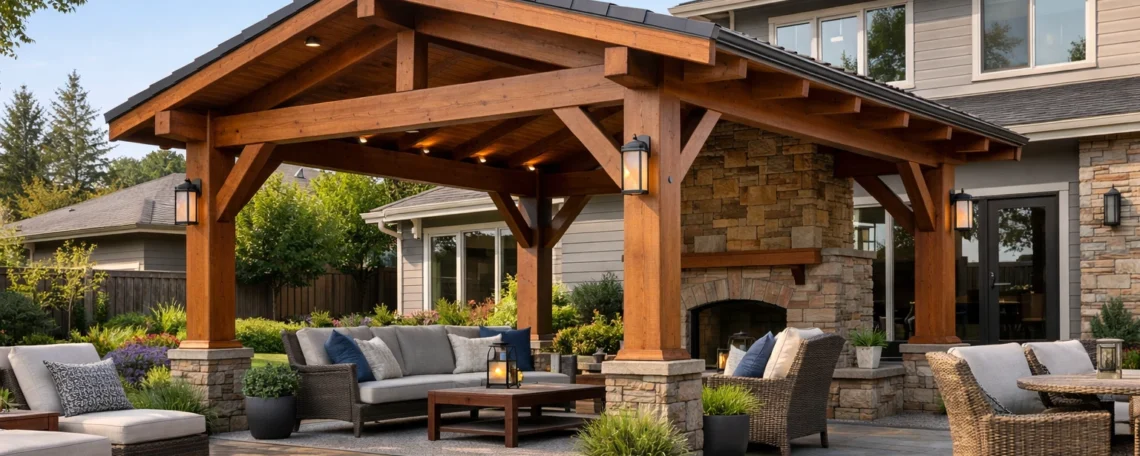
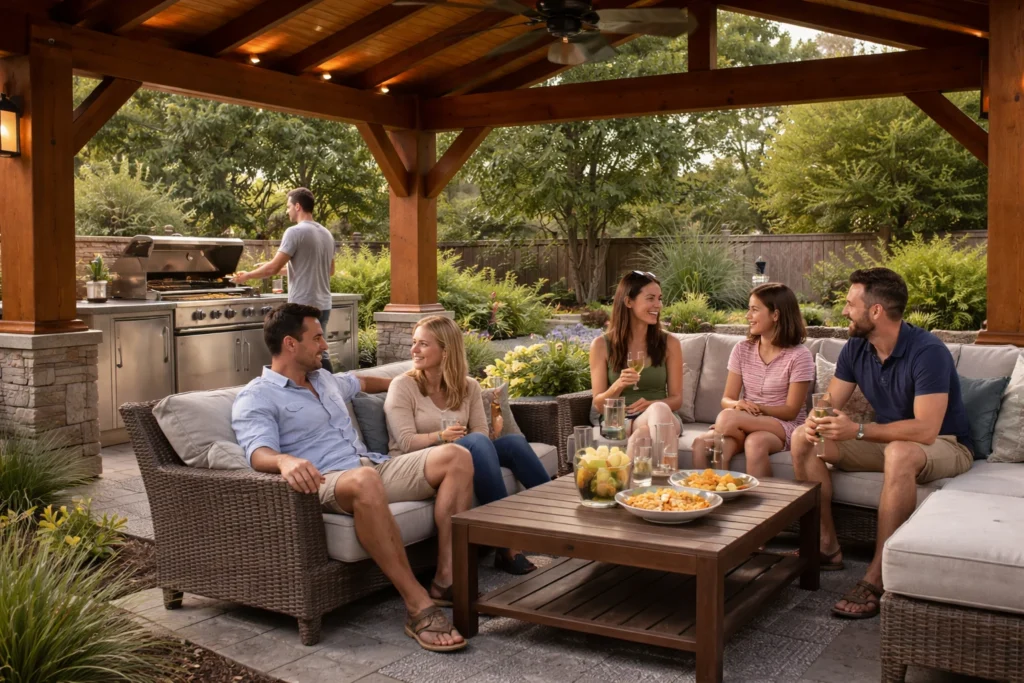
Seating Layouts That Make You Want to Stay
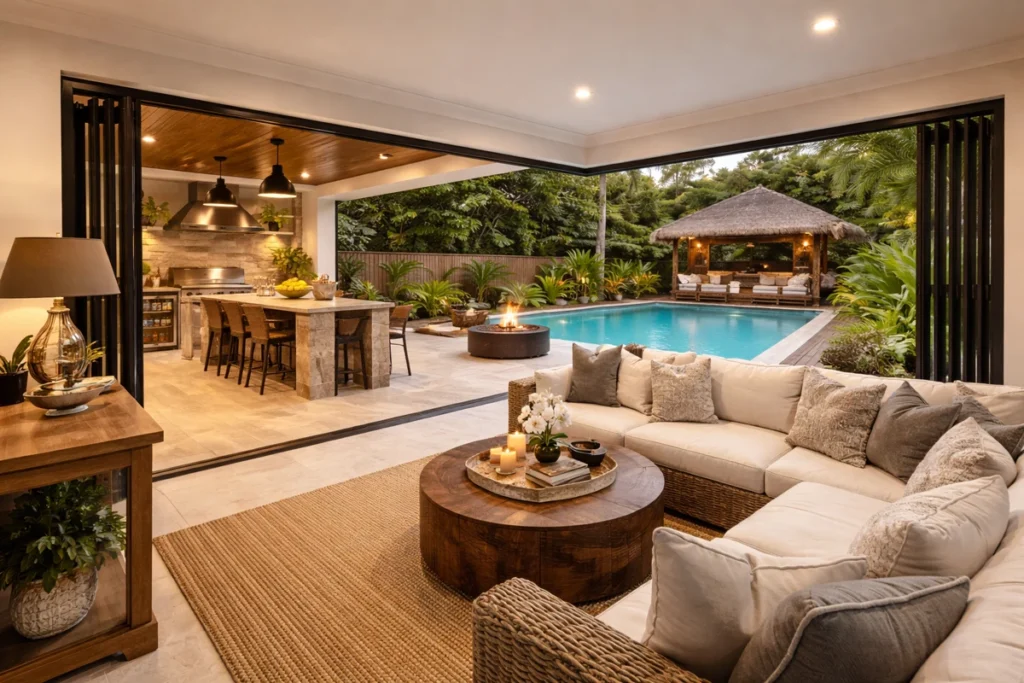
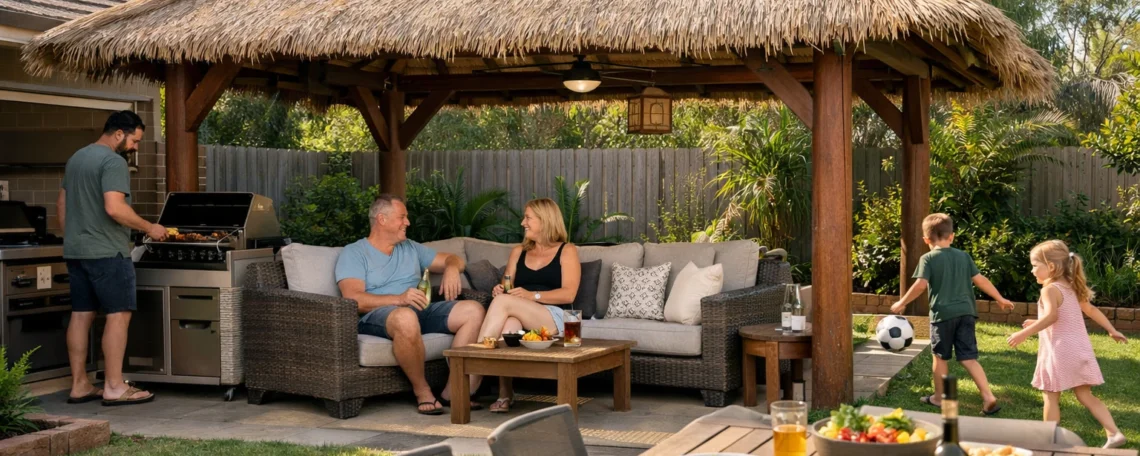
Low, comfortable furniture and a view worth sitting in front of. That’s the seating layout that works best under a Bali hut.
To achieve this, arrange your seating to face a garden bed or open space, rather than a wall. A low daybed or lounge creates a familiar resort feel that’s easy to relax in. Plus, leave enough room so the outdoor spaces stay open, uncluttered, and actually fun to spend time in.
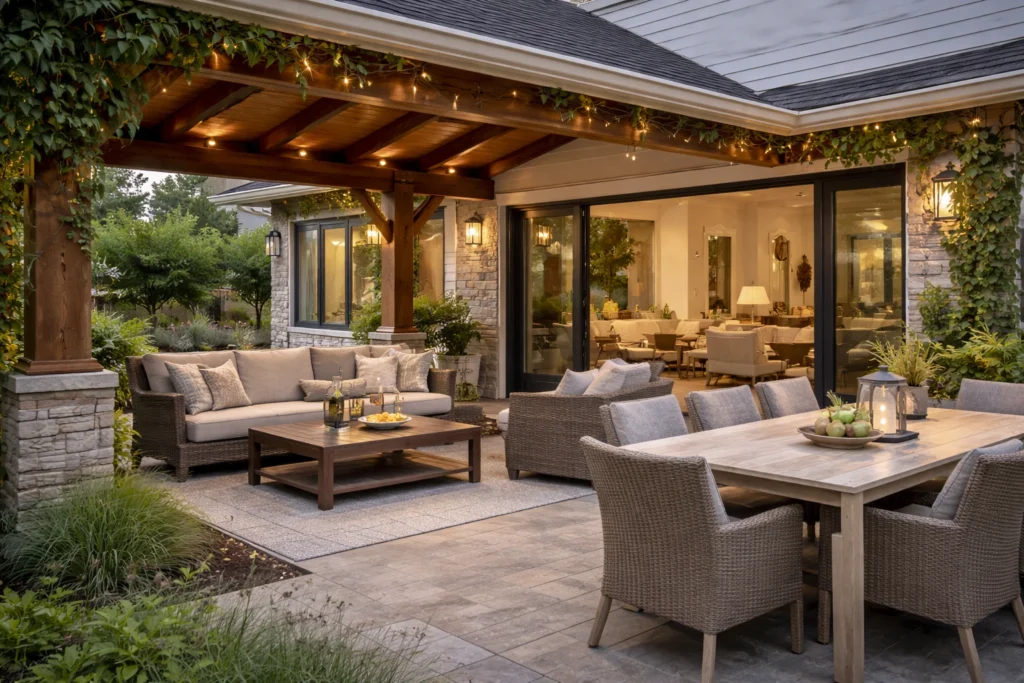
Small Details That Pull the Whole Look Together
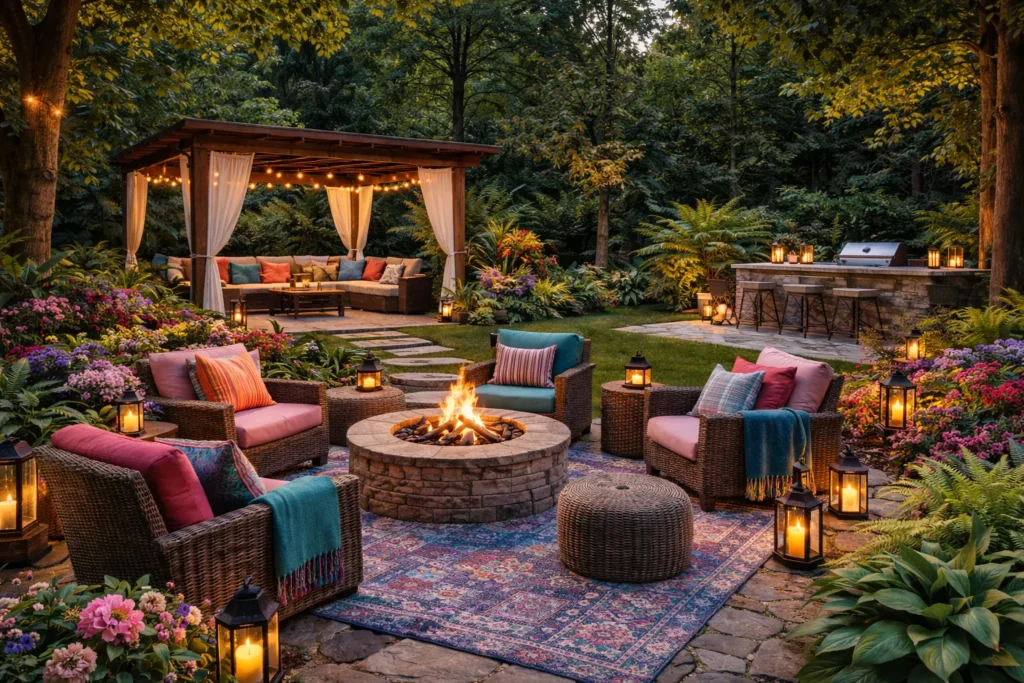
Now that the structure and seating are sorted, the smaller finishing touches bring the whole space to life. To complete the look, outdoor lanterns or string lights set the scene for a peaceful evening.
For cushions, earthy tones or Balinese painting-inspired prints help tie the space back to the island’s art and culture. They also add a welcoming touch and create the subtle sense of paradise that the area may have been missing.
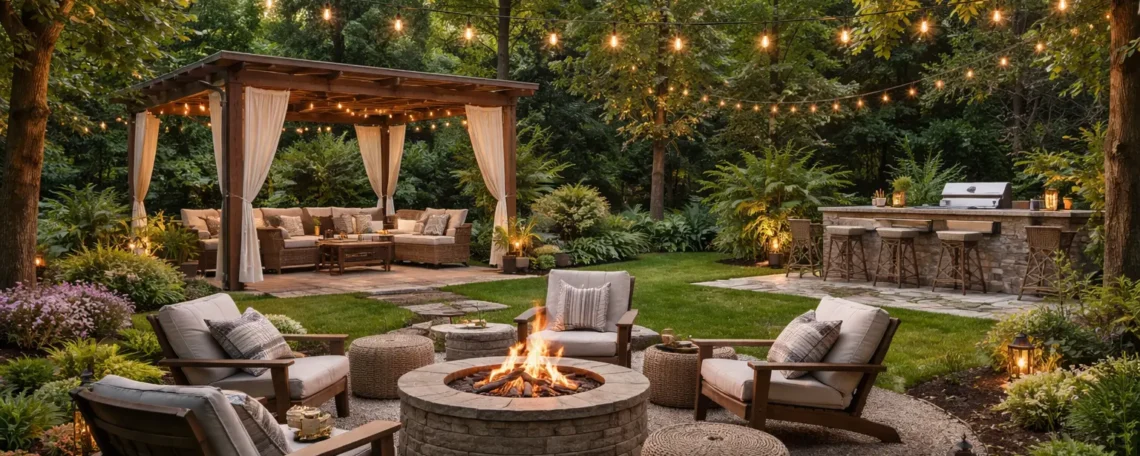
Should You Add a Fire Pit to Your Retreat?
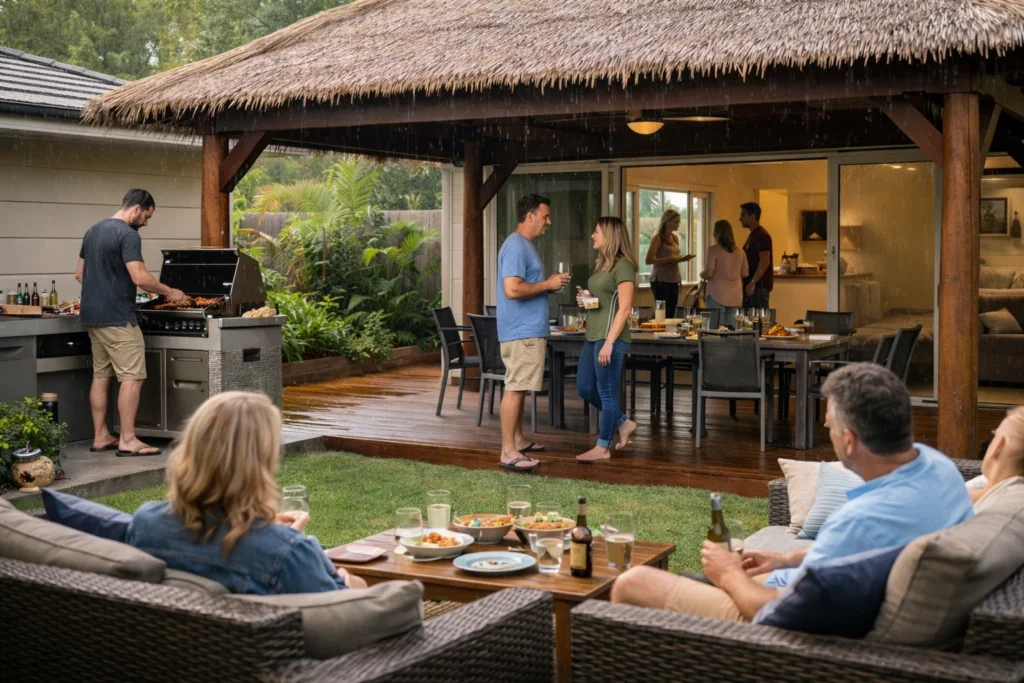
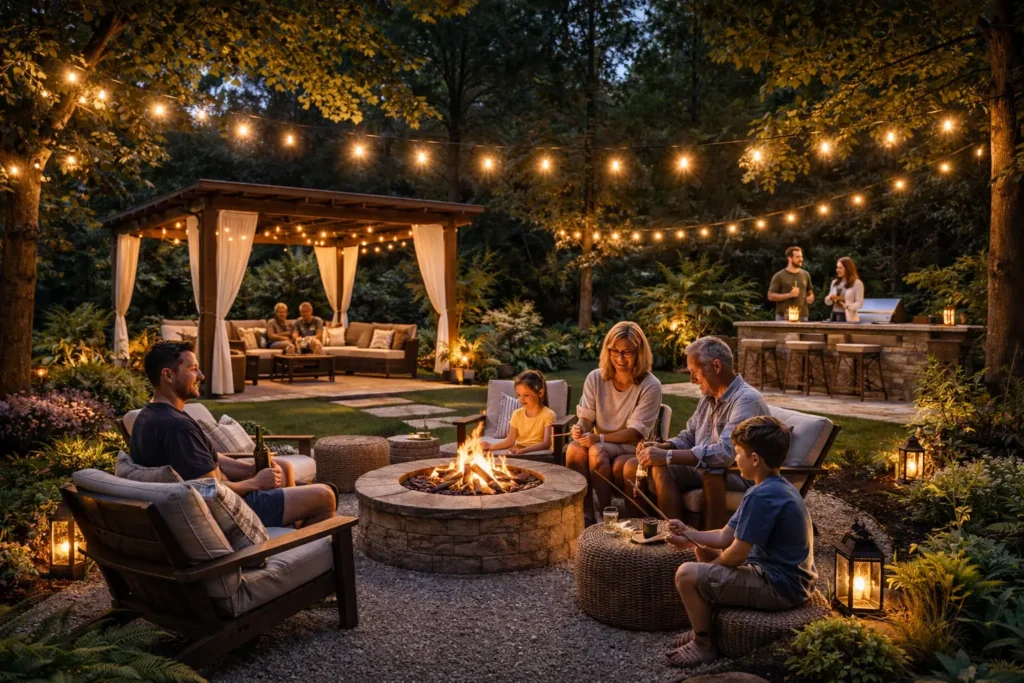
A fire pit might just be the one addition that gets your outdoor retreat used twelve months of the year instead of six. There’s something about gathering around a fire on a quiet Friday evening that pulls the whole family in, and it works well in pretty much any outdoor environment.
There are a few factors to consider before bringing one into your space.
- Extends Your Outdoor Seasons: A well-placed fire pit gives the family more reasons to head outside through autumn and winter. It adds warmth to your outdoor spaces, a sense of nature and fun, and makes the garden feel more welcoming year-round.
- Location’s Priority: Set it at least two metres from your Bali hut and any overhanging plants. The right location keeps everyone safe while still letting you sit close enough to enjoy it comfortably.
- Fuel Type Changes The Experience: Gas fire pits are popular across the world and easy to control, which suits UK and Australian families who want something reliable. Wood-burning options add atmosphere, crackling sounds, and a campfire scene that’s hard to replicate.
Either way, a fire pit is one of those accessories that adds real value to an outdoor space. It keeps the space inviting well into the evening. The added warmth also helps the garden feel more complete and welcoming, especially.
Your Backyard Retreat Is Closer Than You Think
A backyard retreat comes down to three things: solid shade, comfortable seating, and a few details that make the space feel right. Sort those out, and the garden becomes a proper destination.
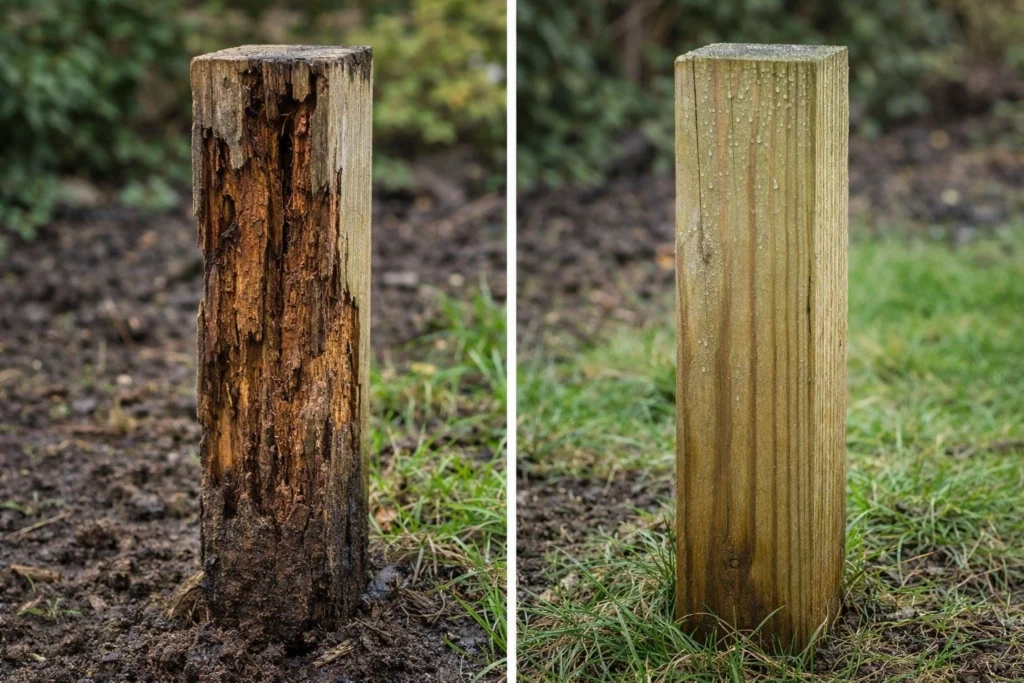
Georgia Wiseman offers high-quality Bali huts with a 20-year frame warranty and guidance on location and setup. Our team will help you create a complete outdoor space, with tips on greenery, accessories, and seating that suits your garden perfectly.
So the first step is simple. A new Bali hut could be the best purchase you make for your backyard this year, and on arrival, you’ll wonder why you waited.