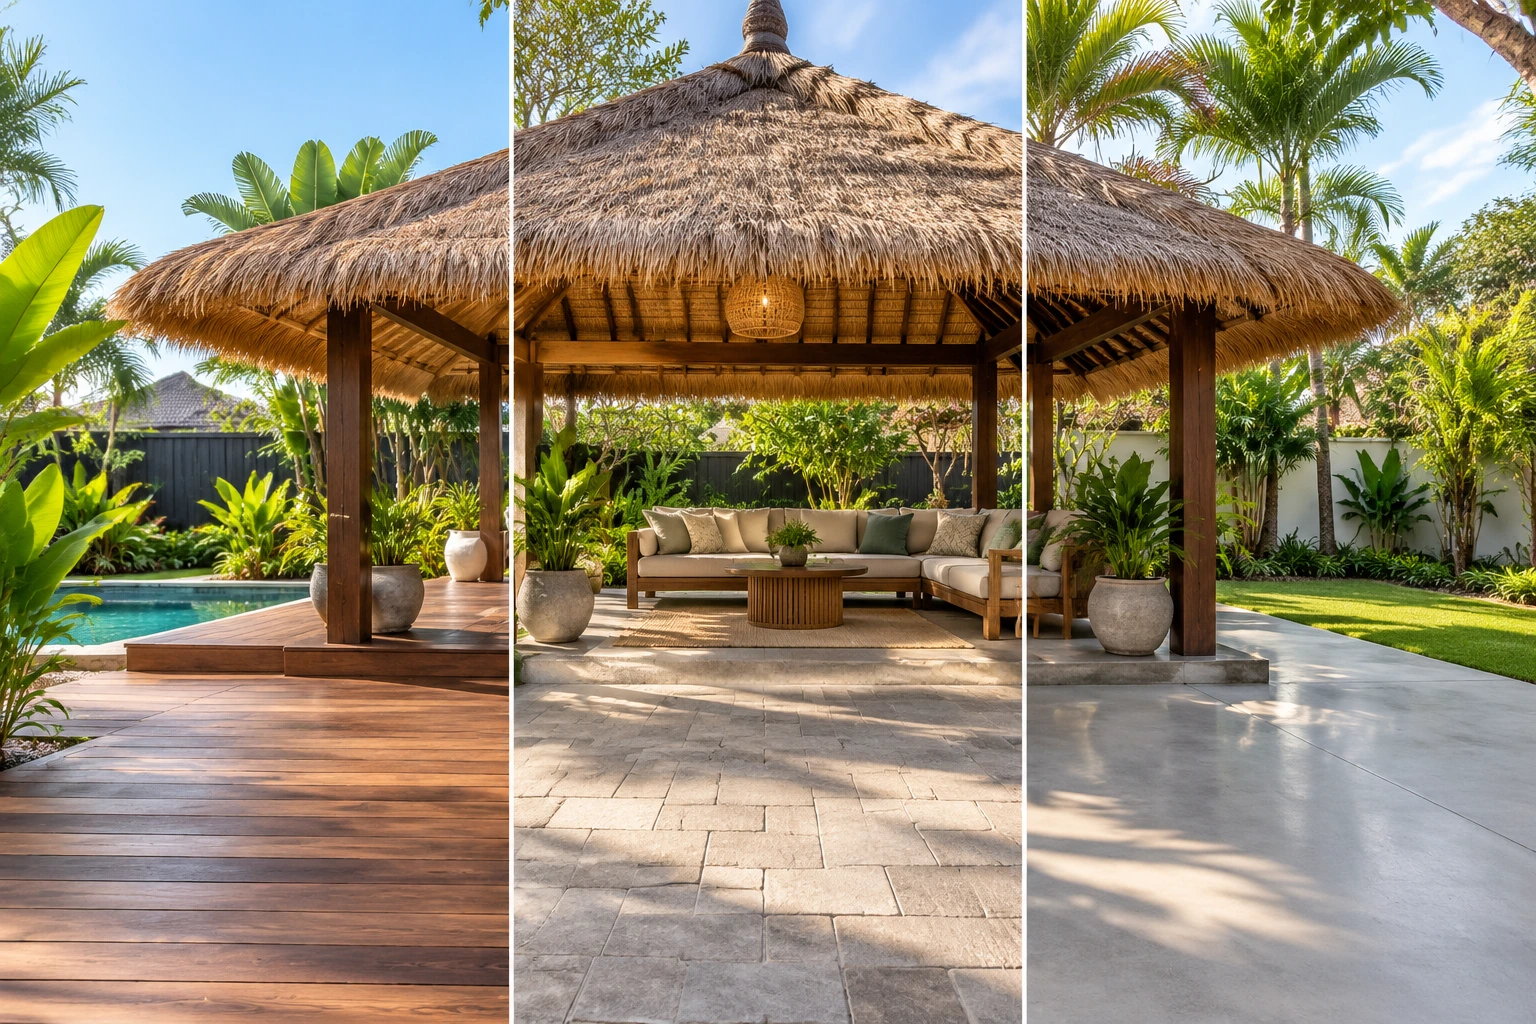
Decking, pavers, or concrete: the base you choose determines how your Bali hut flooring drains, supports furniture, and weathers over time. Get this choice wrong, and you’ll spend more time fixing your base than relaxing in the shade on a hot day.
We’ve helped plenty of homeowners work through this exact decision. More often than not, the yard does most of the work, since clay soil, steep slopes, and poor drainage each push you toward a different base before budget or style even enters the picture.
To give you a clearer picture, this article covers what each base involves and which yard conditions suit it best. After that, we’ll show you how your own block points toward the right pick.
Let’s get into it.
Timber Decking: The Elevated Option for Airflow and Style
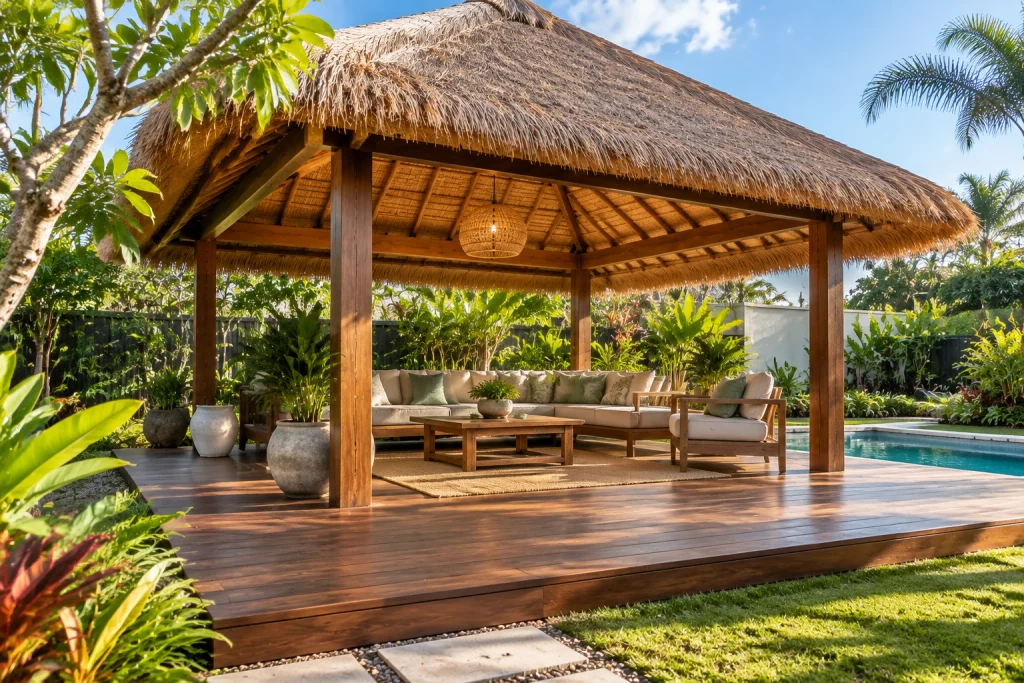
Many homeowners pick decking first, drawn to its warm, natural finish. A stained or oiled surface enhances the look further and brings real benefits in terms of weather protection too.
Beyond the look, raised decking lifts your Bali hut off the soil so air moves freely underneath and moisture stays away from the timber beneath. It works much like a verandah floor that way.
And that’s just the start. It earns its spot as a base choice for a few other reasons too.
- Moisture Stays Out: As we mentioned, raising your Bali hut off the earth stops moisture from collecting against the structure. We’ve seen posts rot within two years when a base sits too low.
- Gaps Handle Rain: A small gap between each board, usually 4mm to 6mm, gives rainwater somewhere to go instead of pooling on top. Without that spacing, water has nowhere to go and starts pooling around your posts instead.
- Easy Annual Upkeep: Once installed, a quick coat of decking oil once a year keeps the timber protected. Most households get 15 years or more out of a well-maintained deck.
For backyards that get regular rainfall, that drainage advantage makes decking the lowest-risk base choice for your own Bali hut over a 10 to 15-year period.
Bali Hut Pavers: A Popular Middle-Ground Option
Unlike decking, pavers are flat stone or concrete tiles laid directly on the soil, with no raised framing or annual resealing required. So if you’re after a neat, flush outdoor space where family and friends can relax without the ongoing work, this option is a fantastic choice to consider.
Low maintenance is only part of it, though. Pavers lay completely flat underfoot, which means heavier pieces like stone tables and fire pits don’t rock or need re-levelling. Pavers handle both stability and drainage without sacrificing one for the other.
The drainage side is just as practical. Small joints between each paver pull rainwater down through the base rather than letting it collect near your posts. A dry base means less moisture pressing against your Bali hut’s frame, which reduces rot risk over time.
Beyond drainage and stability, style flexibility is another advantage worth noting. Pavers come in a range of materials, including natural stone, concrete-look tiles, and terracotta finishes. That variety means you can create a style that adds charm to your existing backyard without redesigning anything around it.
In our experience, pavers suit the widest range of backyards simply because the soil preparation is minimal and the overall cost is more affordable than concrete. Pavers suit the widest range of backyards simply because the soil preparation is minimal and the overall cost sits well below a concrete pour.
Can You Pour a Concrete Base for a Bali Hut?
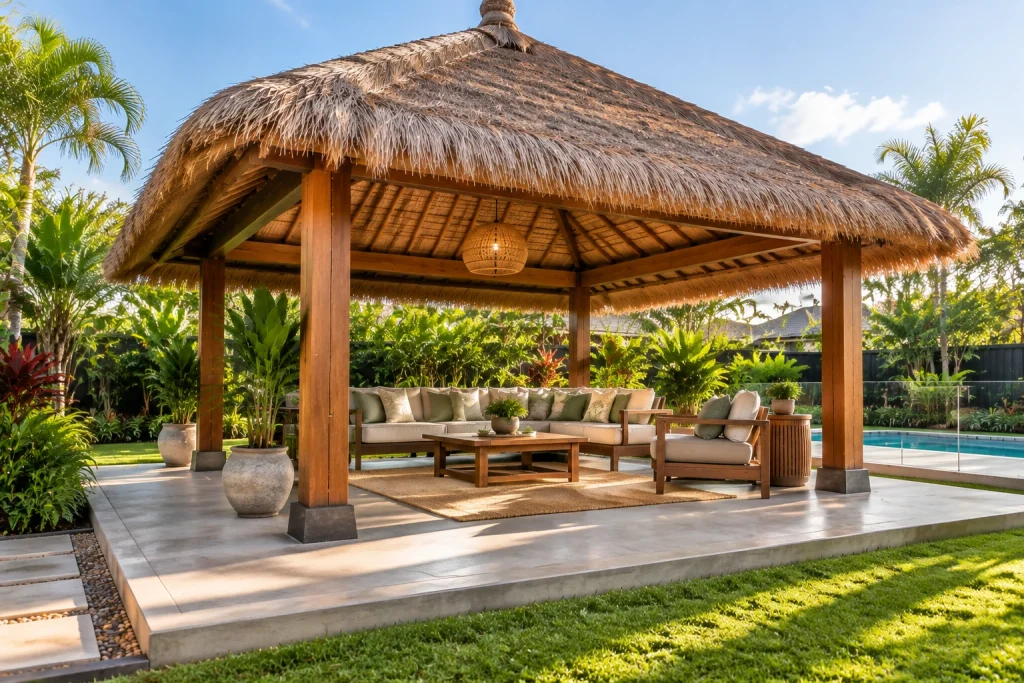
Yes, and for backyards that need a permanent, heavy-duty base, concrete is in a different league entirely. It locks into the soil and gives your Bali hut a solid, level surface without shifting or settling. A good contractor with great service makes sure it stays that way.
The main catch is the installation process. Concrete needs proper base preparation before pouring, since soil movement beneath a slab can cause cracking if the groundwork is rushed.
That complexity aside, the slab has a few clear strengths that make it worth considering.
- Built for Weight: Concrete supports more weight than decking or pavers. While pavers handle standard outdoor furniture and smaller fire pits, a large built-in barbecue, spa surround, or full stone lounge setting needs the load capacity only a slab provides.
- Almost Zero Maintenance: Once a professional seals the slab after pouring, concrete needs little more than an occasional hose down. Unlike timber, there’s no recoating, resealing, or annual maintenance schedule to follow.
- Not a DIY: The area beneath needs proper preparation and levelling before you pour a slab. Skip that step, and you won’t be able to anchor the structure properly, which leads to cracking within the first few years.
Concrete delivers the most durability of the three options, but it asks the most of you upfront. If you’re planning a permanent outdoor space around your Bali hut, that trade-off is usually worth it.
Let Your Soil and Slope Decide the Base
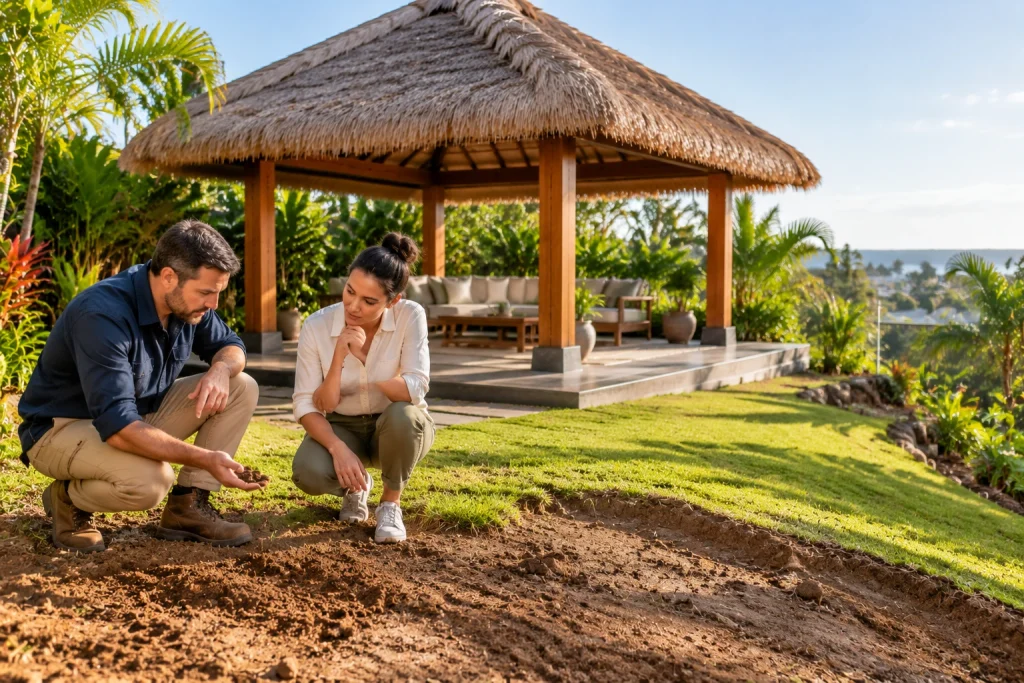
Your soil type determines how water drains after rain, and your slope determines where that water travels next. Together, they narrow three options down to one before you spend a cent on materials.
In practice, most Australian backyards fall into one of three categories.
- Clay Soil Risk: Clay holds water for hours after rain and shifts slightly as it dries, which makes concrete a risky choice. Meanwhile, pavers or decking handle the drainage demand without the cracking risk.
- Slope Limits Options: Unlike flat ground, a significant slope rules out pavers without serious regrading first. Decking handles slope better since the frame can be adjusted to level during installation.
- All Options Open: Where clay and slope narrow the field, flat ground with sandy soil gives all three bases a fair chance. Your decision then comes down to budget, style, and how much upkeep you’re willing to commit to.
If your soil type isn’t obvious from the surface, a quick test kit from your local hardware store costs under $20. That result alone tells you where your yard stands before you commit to any stylish outdoor structures.
Installing Your Bali Hut Base: What to Expect
Expect soil and ground preparation, levelling, and framing for all three bases, but the time and effort each installation involves varies significantly. Concrete falls at the far end of that range, and in our experience, it needs the most patience to get right.
Before you book anyone in, this breakdown shows what each base demands.
|
Base |
Process |
Timeframe |
DIY Friendly? |
|
Decking |
Posts, levelling, boards |
1–2 days |
Yes |
|
Pavers |
Compacted base, laying, levelling |
1 day |
Yes |
|
Concrete |
Professional pour, curing |
3–7 days |
No |
What the table doesn’t capture is the hidden cost of getting it wrong. A rushed concrete pour can mean cracking within two years, while a poorly compacted paver base leads to uneven surfaces that are expensive to relay.
Decking is the most forgiving of the three since individual boards can be detached and replaced without rebuilding the whole frame. Over time, boards show wear. But most DIY installs need only basic tools, including nails and a level, to complete the job.
One Last Thing Before You Pick a Base for Your Outdoor Space
Most Bali hut owners think about the thatched roofing, the structure, and the style. The base rarely gets the same attention, and that’s where things go wrong. A poor base choice reveals itself in drainage issues, unstable furniture, and repair bills that could have been avoided entirely.
In this guide, we walked you through each base option, what installation involves, and how your soil and slope narrow the choice. You should now have a clear starting point before anything gets ordered or booked.
Our team at Georgia Wiseman has helped hundreds of Australian homeowners land on the right base for their yard, budget, and lifestyle. Contact us today, and we’ll walk you through local council regulations, your property’s council approval, and more.
Let’s get your beautiful Bali hut built properly, and enjoy the beauty of a well-chosen base for years to come.