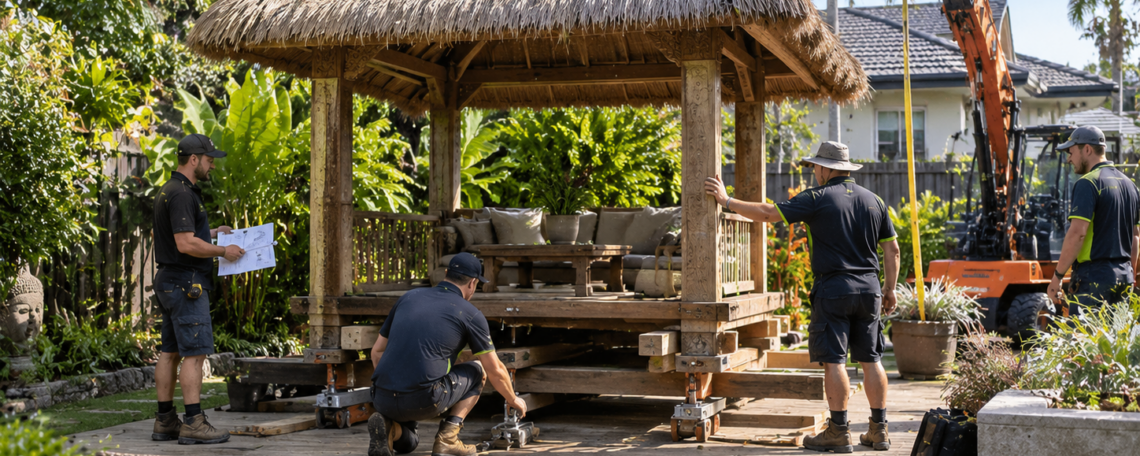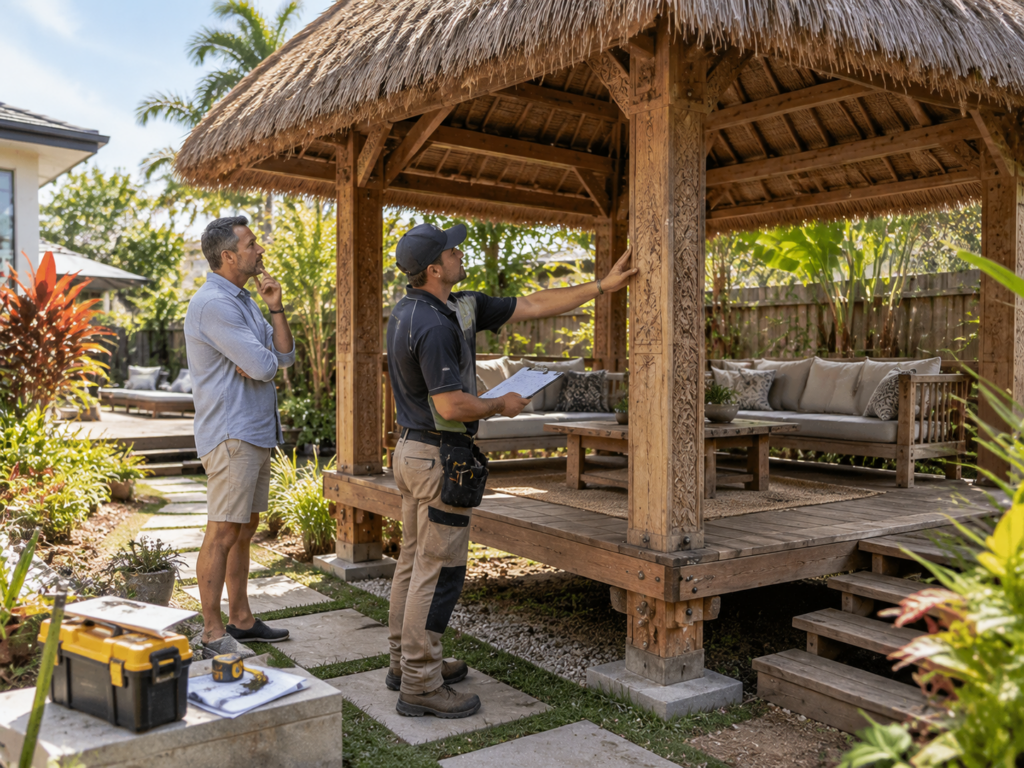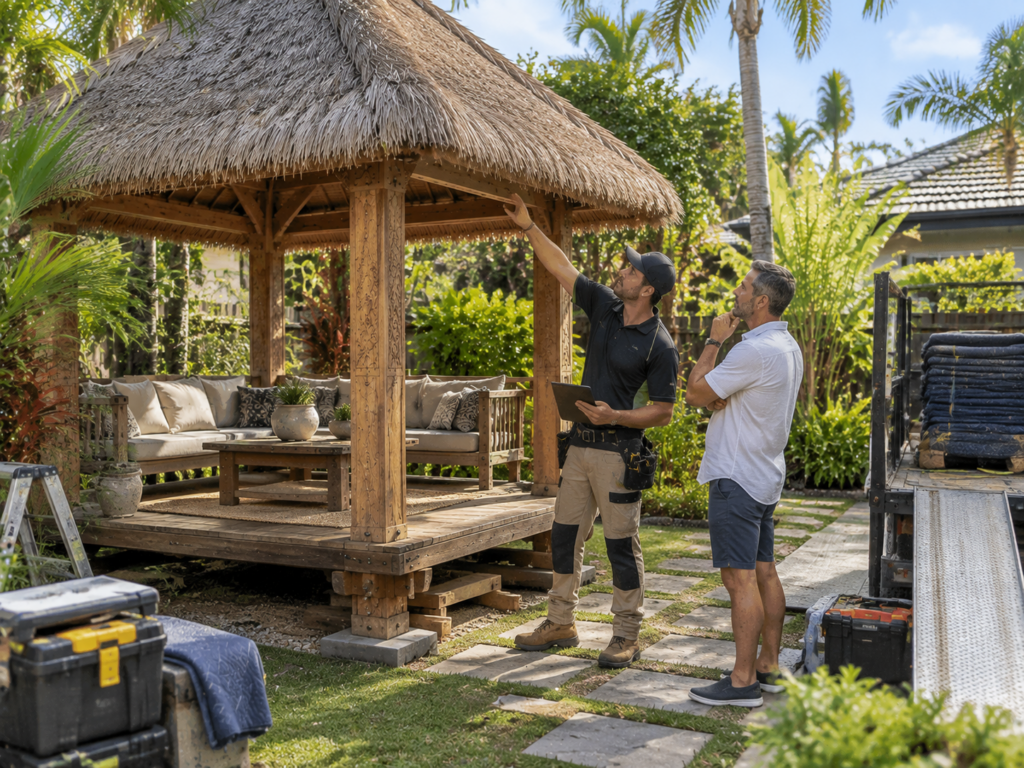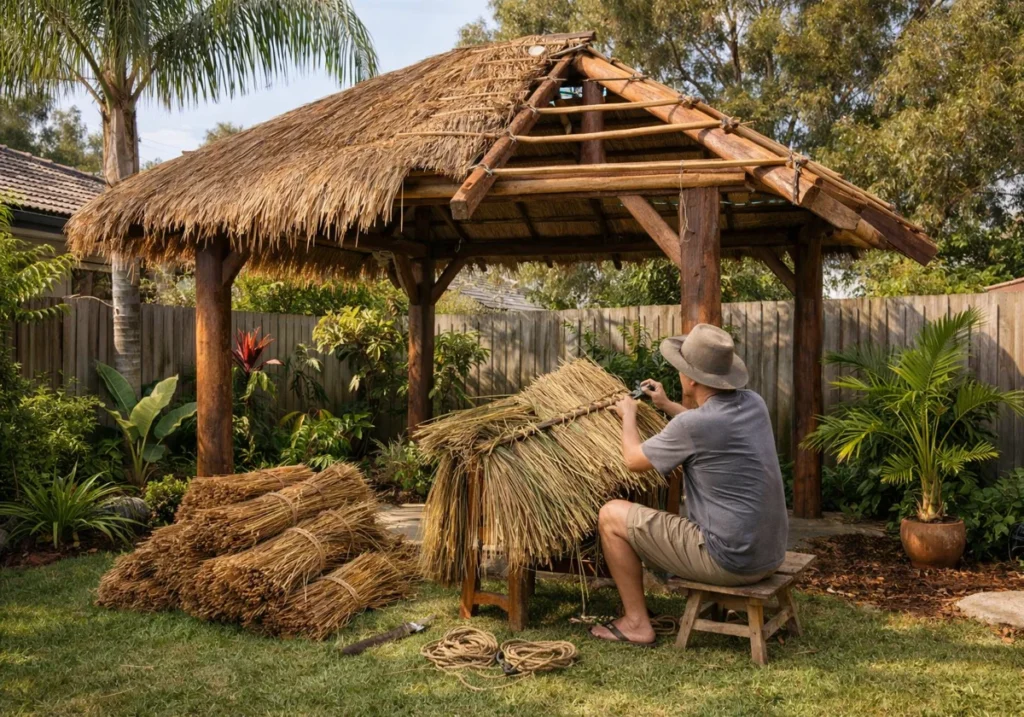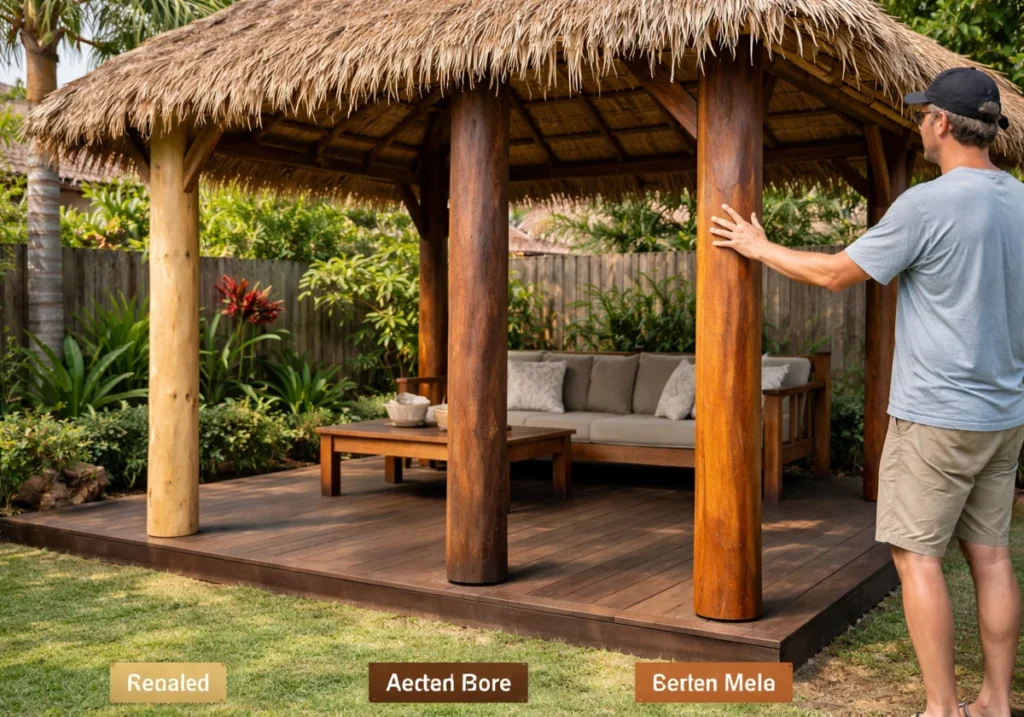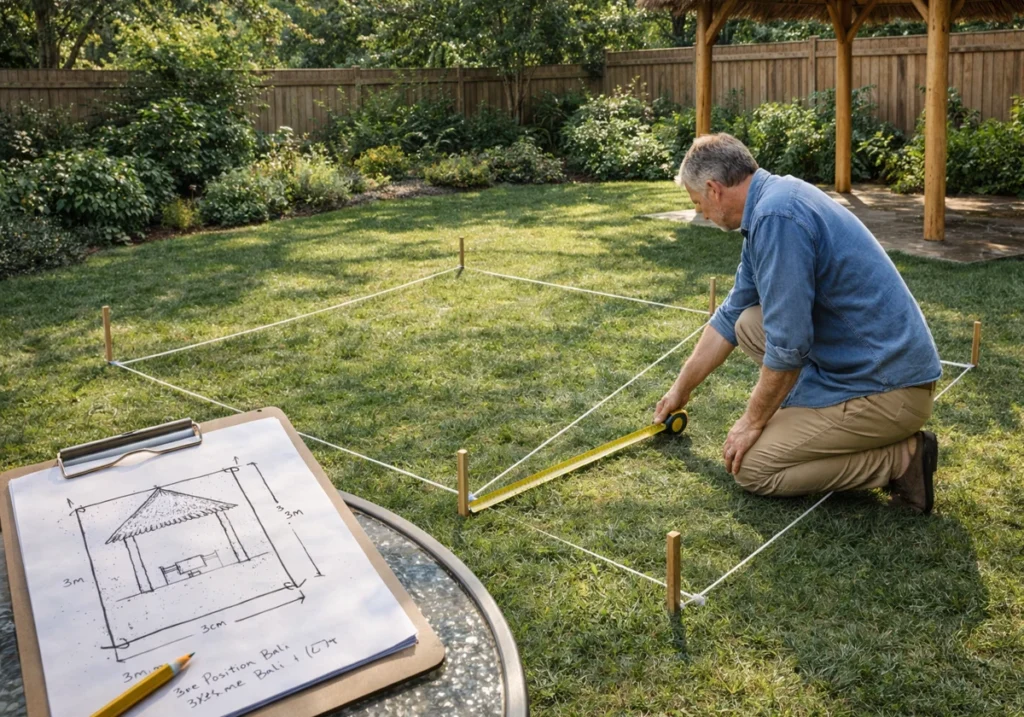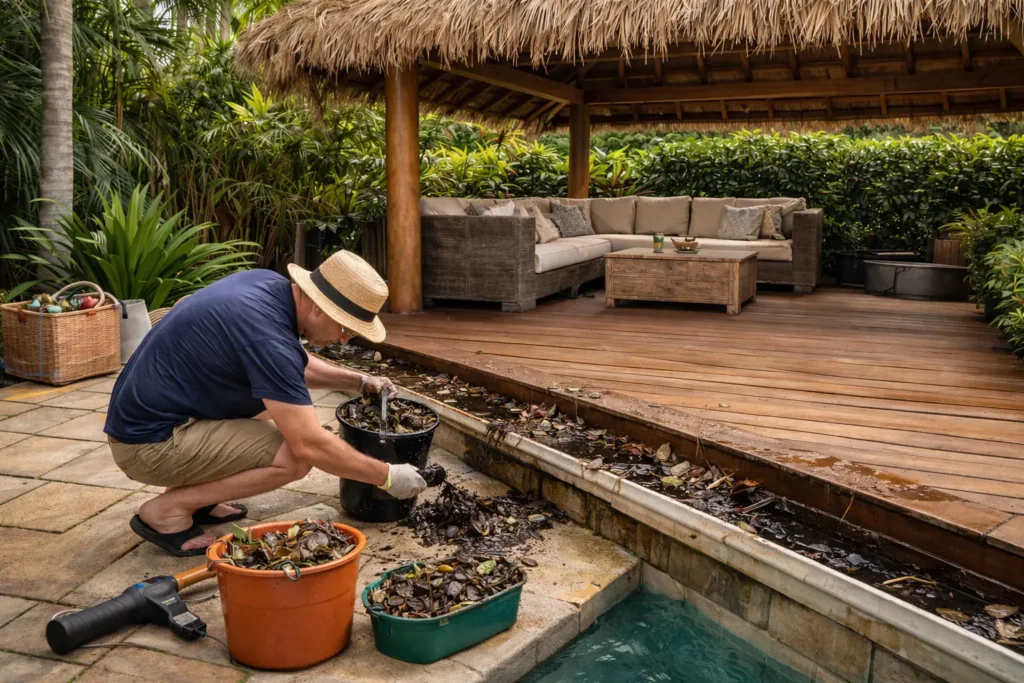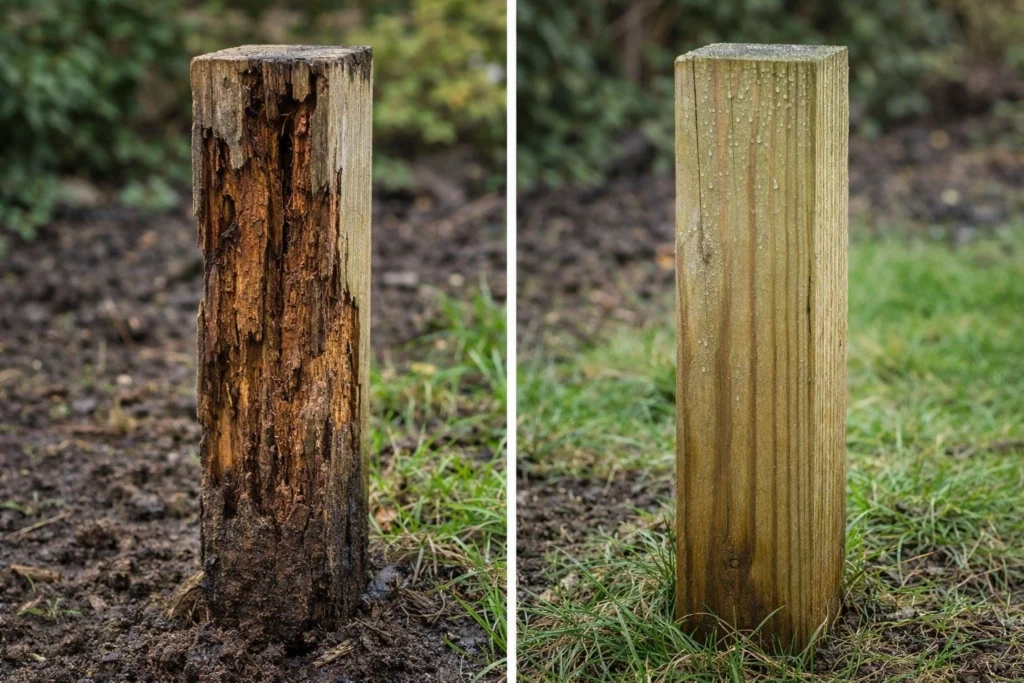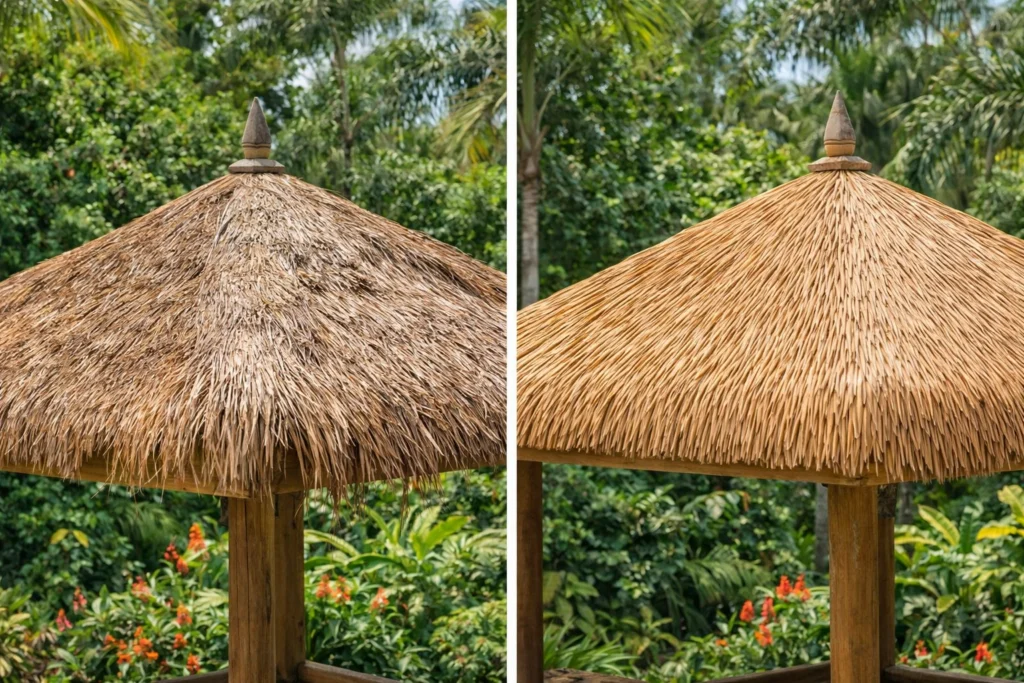
After the first storm following installation, check your new Bali hut’s thatch, frame, tie-downs and drainage for damage. That first heavy blow tells you more about how the build handles weather than a calm month ever could.
Most Australian backyards cop at least one strong squall soon after a build goes up, and fresh thatch settles during that weather. Georgia Wiseman sees the same pattern every season, so a slow walk-around within a day or two saves money later.
Honestly, the timing is rarely luck. Bureau of Meteorology records show an average of about 11 tropical cyclones forming in the Australian region each season, with roughly four of them crossing the coast.
This guide covers the checks that count, from ridge cap to ground drainage, plus a routine you can keep. Grab a ladder and start at the top.
Post-Storm Bali Hut Roof Inspection: What to Check First
A single missed tear in the thatch can let water pool inside the frame for weeks. Storm damage on a Bali hut roof rarely announces itself, so you’re hunting for small changes rather than obvious holes.

Work across the roof in three passes, starting with the broad surface and finishing with the bundles themselves.
Checking the Thatch and Roof Surface for Gaps and Thin Spots
Stand underneath first and look up towards the light, because daylight coming through the thatch marks every thin spot far better than any view from above.
From there, move outside and scan the roof surface for patches that look flattened or combed the wrong way (wind lifts the layers and drops them back wrong).
Press a gloved hand into any suspect patch. Sound thatch feels springy and dense, while a thinned section gives way under light pressure.
Spotting Damaged Thatch Near the Ridge Cap
The ridge cap sits at the highest point and takes the worst of the wind, which makes it the first place damaged thatch turns up after a storm.
Look for capping lifting at either end, plus any gap between the cap and the thatch running down each side. In our experience fitting huts across Australia, ridge failures start as a two-finger gap and widen quickly.
Here is the thing. That seam sits directly over the ridge beam, so water entering there runs straight into the frame instead of shedding off the roof.
Are Any Thatching Bundles Loose or Missing?
Yes, storms do pull bundles loose, and you’ll spot them as dark gaps or as tufts hanging below the clean line of the roof.
Tug gently on a few bundles along the lower edge, where the binding wire carries the most load during strong gusts. Missing bundles leave the row above them exposed, so the damage spreads with every shower that follows.
Mark each loose one with a peg or tape so your repair crew works from a list rather than guessing (tape beats memory every single time).
Frame and Tie-Down Checks for Bali Huts Across Australia
With the thatch sorted from the ground up, solid tie-downs keep the whole structure steady through the next big blow. Every Bali hut Australia-wide pushes that wind load down through the frame sitting under its thatched roof. Gazebos, Bali huts and pergolas all shift in the same way.
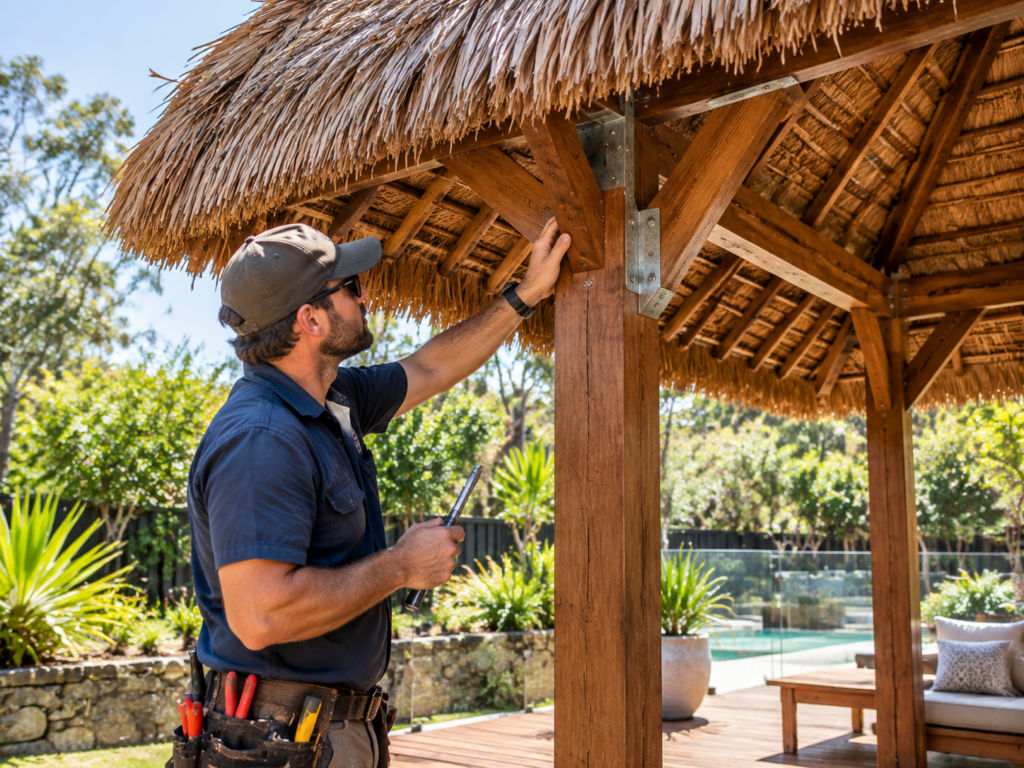
Run through these four points before you pack the ladder away.
- Post Bases and Bolts: Rust streaks or a bolt that turns freely by hand point to movement during the storm, so tighten each one and recheck it a week later.
- Cyclone Strapping: Check every galvanised strap where it wraps the rafter, because a bent or stretched strap has already taken a hit you cannot see from the lawn.
- Fresh Rafter Splits: Splintering in the timber around screw holes tells you the joint flexed further than the fixing was ever meant to allow.
- Ground Anchors: If your hut sits on soft lawn, soil around the footing washes out and leaves the post standing in a shallow pocket.
Tighten what you can reach with the right tools, and photograph anything you cannot. Those photos give an installer real information before anyone quotes a repair.
Why Does Water Pooling Signal a Drainage Problem for Your Thatched Roof?
Water pooling around a Bali hut signals a drainage problem because rain cannot drain away fast enough. Thatch sheds a surprising volume in a short burst, and all of it lands in a ring around the posts.
Ground takes the hit before anything else does. Clay soils across much of Australia hold that water for days, and flat Brisbane blocks drain slower again, which softens the base of every post sitting in them.
Conditions shift with the postcode, too. Humid stretches on the Central Coast keep the lowest thatch damp for weeks, while in South Australia, Adelaide sheds water fast and then bakes the timber dry. Thatched builds in New Zealand sit somewhere between the two.
Beyond the posts, standing water keeps the lowest row of thatch damp long after the sky clears. Damp thatch at ground level rots from the bottom up, and that row holds the rest of the roof edge in place (the cheapest row to save, too).
Every Bali hut inspection we run after a wet week starts with a bucket tipped at the base of a post. Bottom line: if the water sits still for a minute, you want a fall of 50 mm over the first metre, or a shallow gravel trench leading away.
Building a Simple Thatched Roof Maintenance Routine for Australian Huts
Once the roof and frame are checked, a simple routine keeps them that way. Regular thatched roof maintenance takes a few hours a year and keeps the thatch going well past a decade.
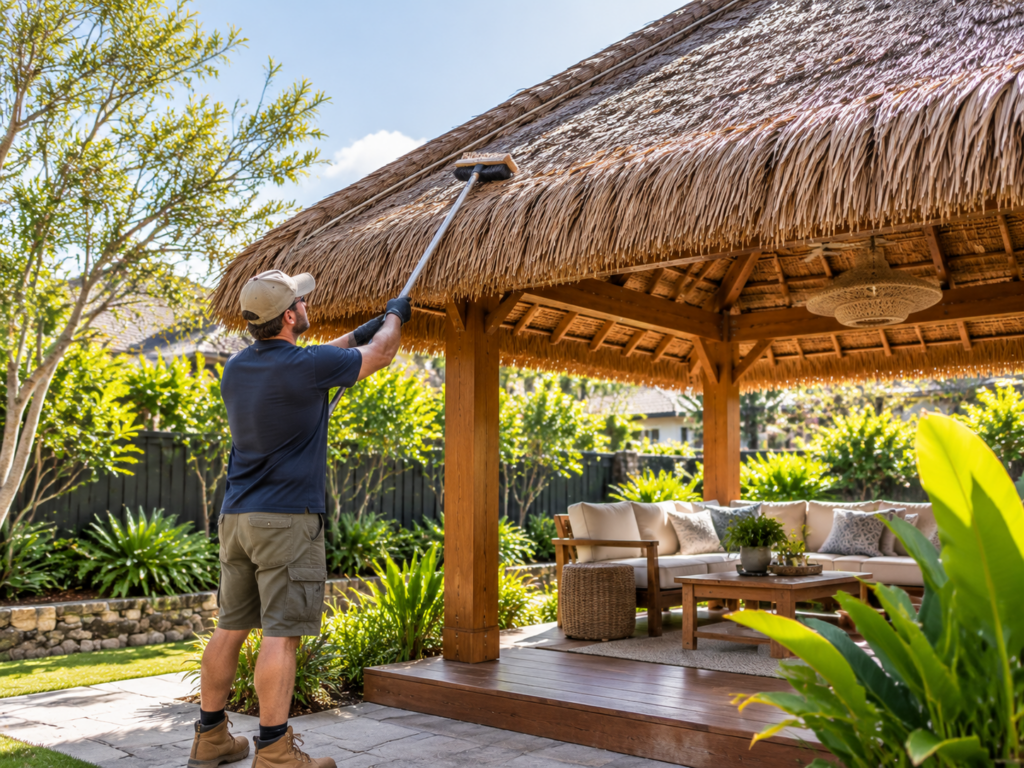
This schedule suits most Australian homes.
| When | What to do | Why it helps |
|---|---|---|
| After each storm | Walk the roofline, check ridge and posts | Catches small tears early |
| Twice a year | Clear leaves and debris from the thatch | Stops damp patches forming |
| Yearly | Retighten bolts, straps and anchors | Keeps the frame rigid |
| Every 8 to 12 years | Book a full re-thatch | Gives you a new roof of fresh thatch |
Worth noting: huts under gum trees need clearing twice as often. Keep a photo from each check so you can track how the thatch ages.
Keep Your New Bali Hut Ready for the Next Australian Storm
A first storm exposes weak points while they’re still small and cheap to fix. Twenty minutes with a ladder and a torch protects a structure built to last years.
Put the next check in your calendar before you climb down, because the habit does more good than any single Bali hut inspection. Photograph anything you’re unsure about and send it through for a second opinion.
Georgia Wiseman offers re-thatching and repair services for gazebos, Bali huts and pergolas across Australian backyards. Contact us for a post-storm check of your roof.